Create and manage Insights accounts
This document outlines the steps required to create and manage a Pulumi Insights account used to scan provider resources.
Prerequisites
- You must be an admin of your Pulumi organization, or have permission to connect cloud accounts and create ESC environments.
- Permissions required to create credentials within the provider account you want to scan.
Account creation
- After logging into the Pulumi Cloud Console, navigate to Management > Accounts.
- On this page, select the Connect cloud accounts button to open the connection wizard.
- Select your provider.Currently, Pulumi supports AWS, Azure, Google Cloud, Oracle Cloud, and Kubernetes as providers for Insights accounts.
- On the Authentication step, choose Connect using existing ESC credentials and select an ESC environment that has the correct credentials to scan the selected provider, then select Next. Pulumi validates the credentials stored in the environment.See below for details on how to set up the ESC environment for each provider.
- On the Discovery step, review the defaults: scheduled scans and policy evaluation are both enabled, with a default policy pack pre-selected, and you can turn either off. Scans run every 24 hours; you can switch to a 12-hour schedule instead. For AWS, also select the partition the account belongs to and the regions you want scanned; global services are always scanned.
- Select Next. You should see a success notification, and the wizard shows a summary with next steps. Accounts connected with existing ESC credentials are named after the selected ESC environment; accounts connected with a browser-based sign-in are named after the cloud account.Child accounts are automatically named with a
/separator (for example,<account>/us-east-1). For more information, see Account hierarchies below.
Account hierarchies
Account hierarchies allow you to organize and manage Insights accounts in a structured way. Currently, child accounts can only be created automatically by Pulumi and is only done so in the case of AWS regions. In the future, this feature will be expanded to support creating custom hierarchies, providing more flexibility for structuring accounts, such as for organizing Kubernetes clusters within an Azure subscription.
How child accounts work
Pulumi automatically creates child accounts when applicable. For instance, in AWS, each selected region becomes a child account under the main parent account. These child accounts represent the scanned resources in each region. For Kubernetes, Pulumi will soon allow the automatic creation of child accounts for scanned clusters (e.g., EKS).
For example:
- Parent account:
my-aws-account - Child account (region):
my-aws-account/us-east-1 - Sub-child account (K8s cluster):
my-aws-account/us-east-1/my-cluster
If you scan or delete the my-aws-account Insights account, Pulumi applies this action to all child accounts. However, you can still scan or delete my-aws-account/us-east-1 without affecting other children of my-aws-account and future scans of my-aws-account will no longer include us-east-1 unless it is updated.
Key benefits of child accounts include:
- Flexible hierarchy: You can create custom account structures for organization and aggregation.
- Cascade actions: Performing actions (e.g., scanning or deletion) on a parent account propagates to all its children.
- Granular control: Actions can also target specific child accounts, affecting only them and their children.
- Configuration inheritance: Child accounts can inherit ESC credentials and other configurations from their parent account.
Resources
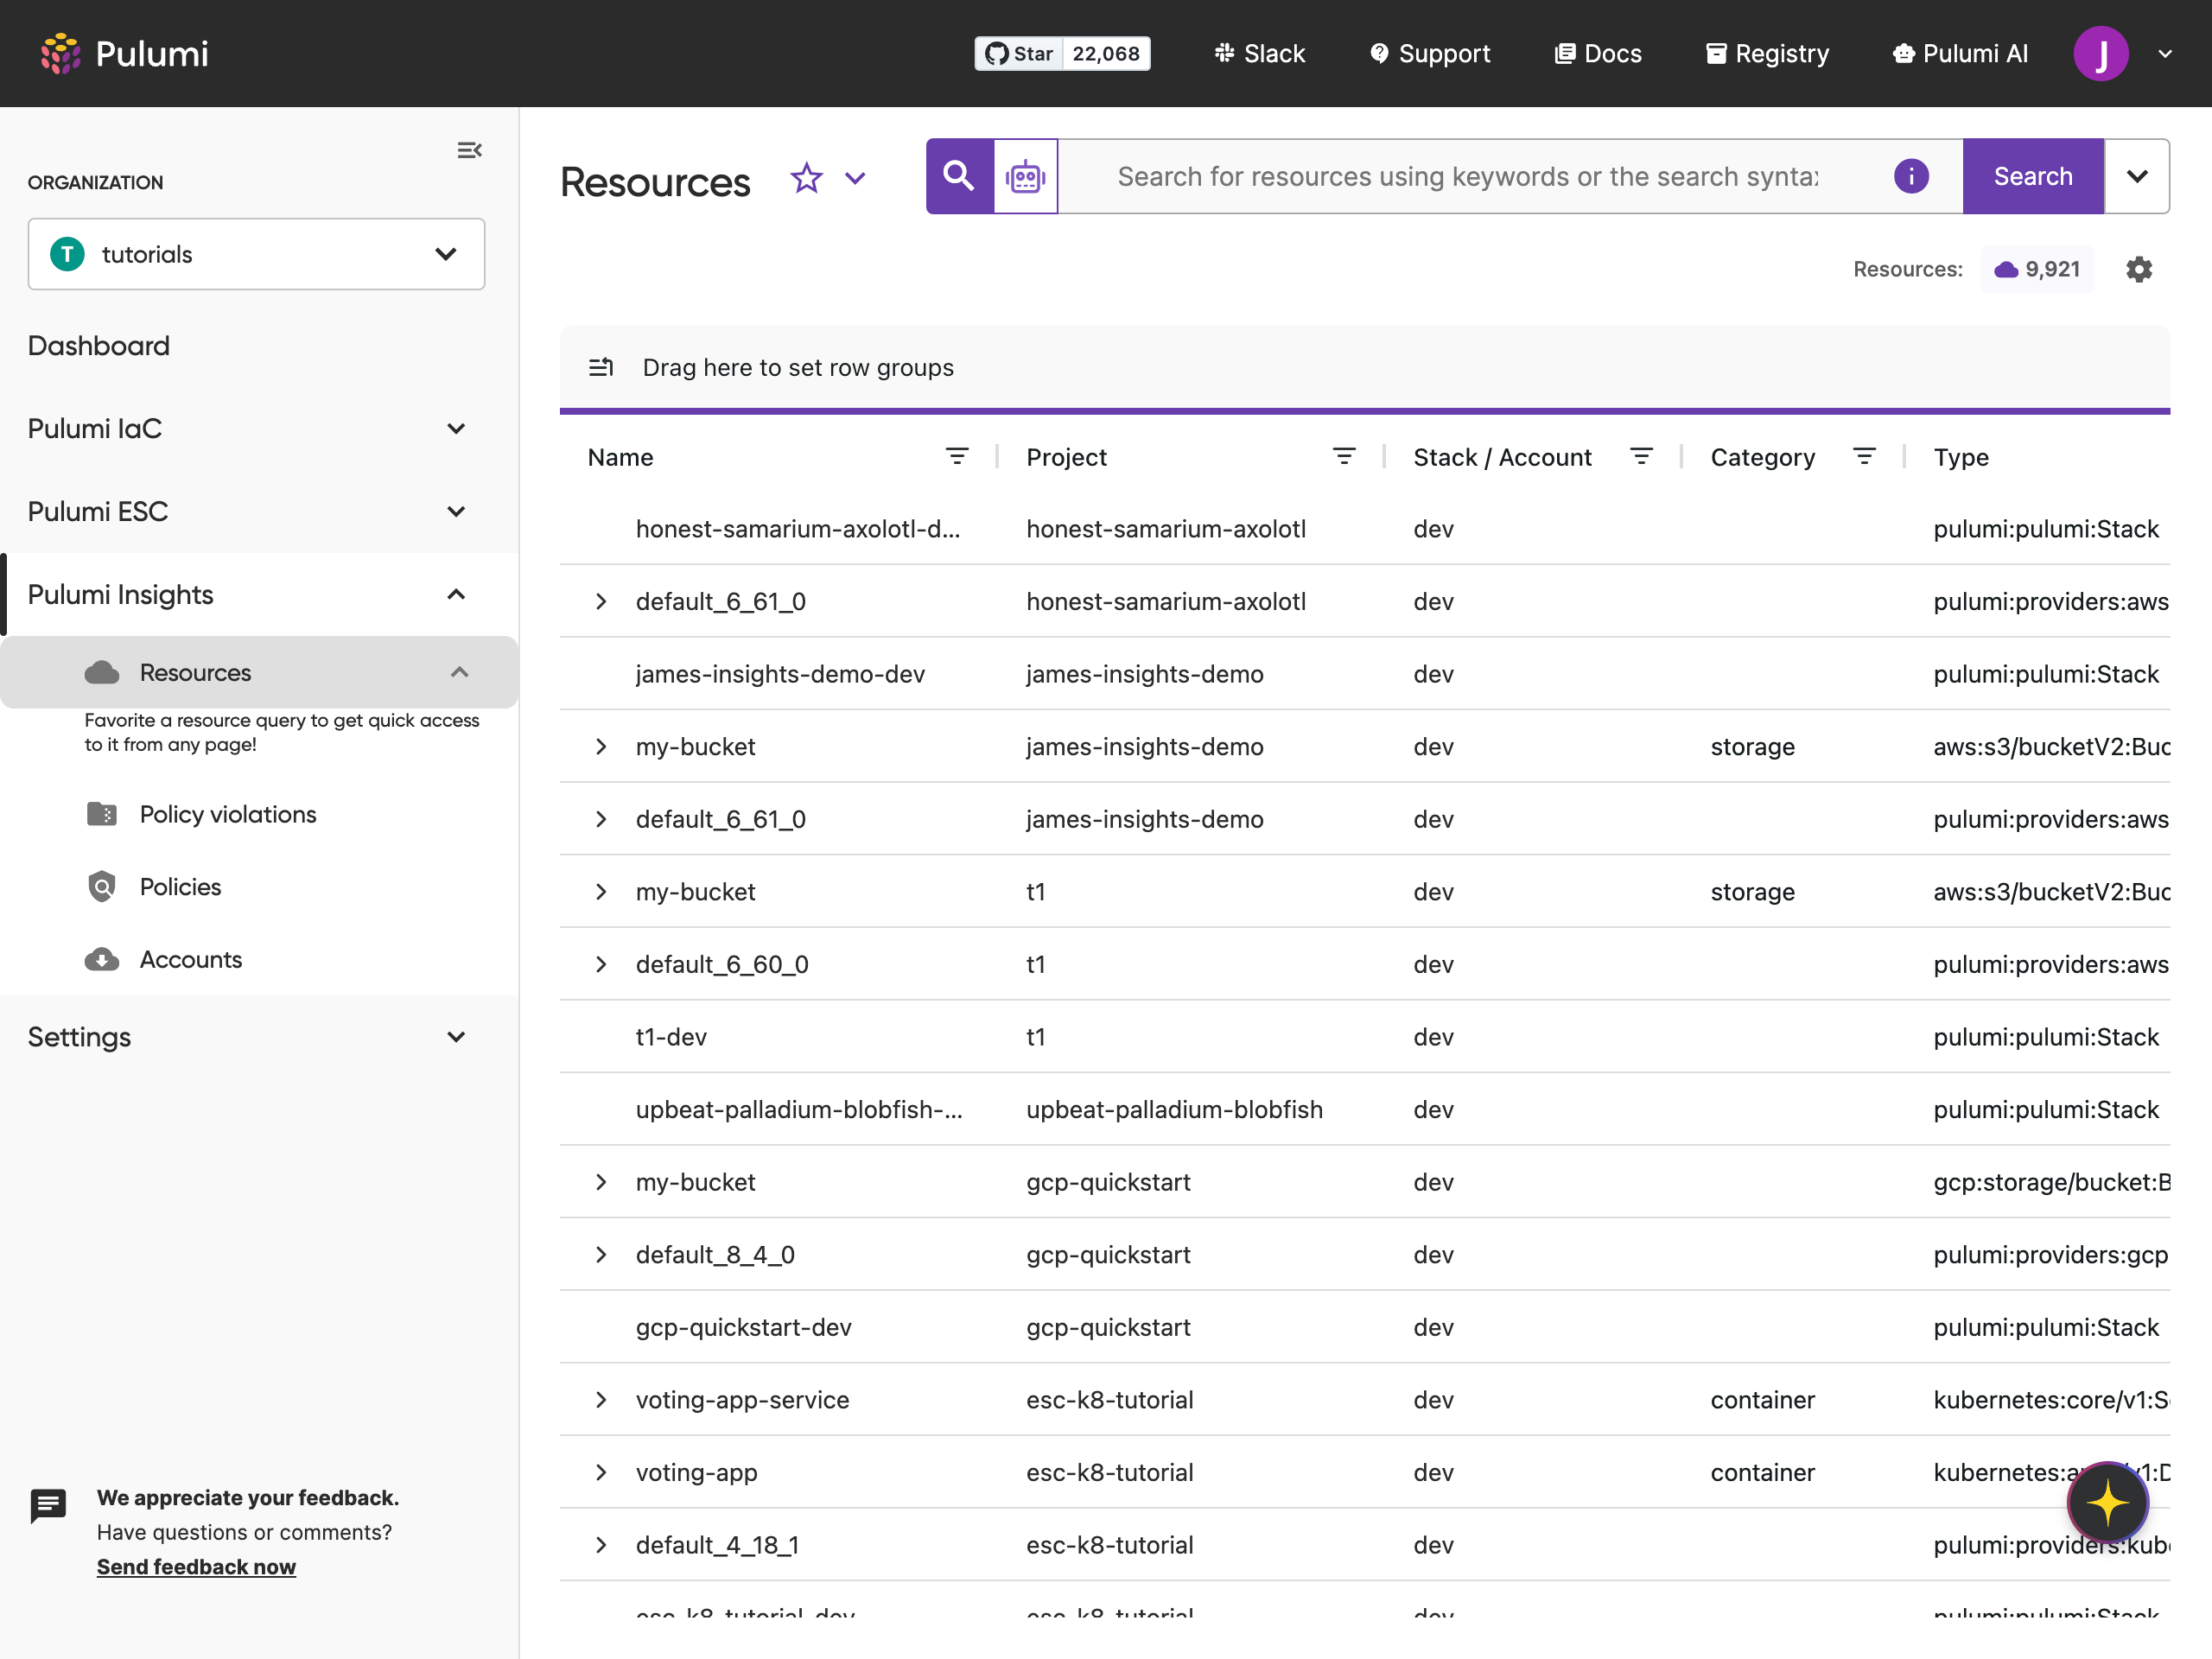
All scanned resources are displayed on the Resources page in Pulumi Cloud.
Viewing resources in the grid
- Grid structure:
- Project column: Displays the ultimate parent account name.
- Stack/Account column: Displays the full child account path. For example:
- Project:
my-aws-account - Stack/Account:
us-east-1/my-cluster
- Project:
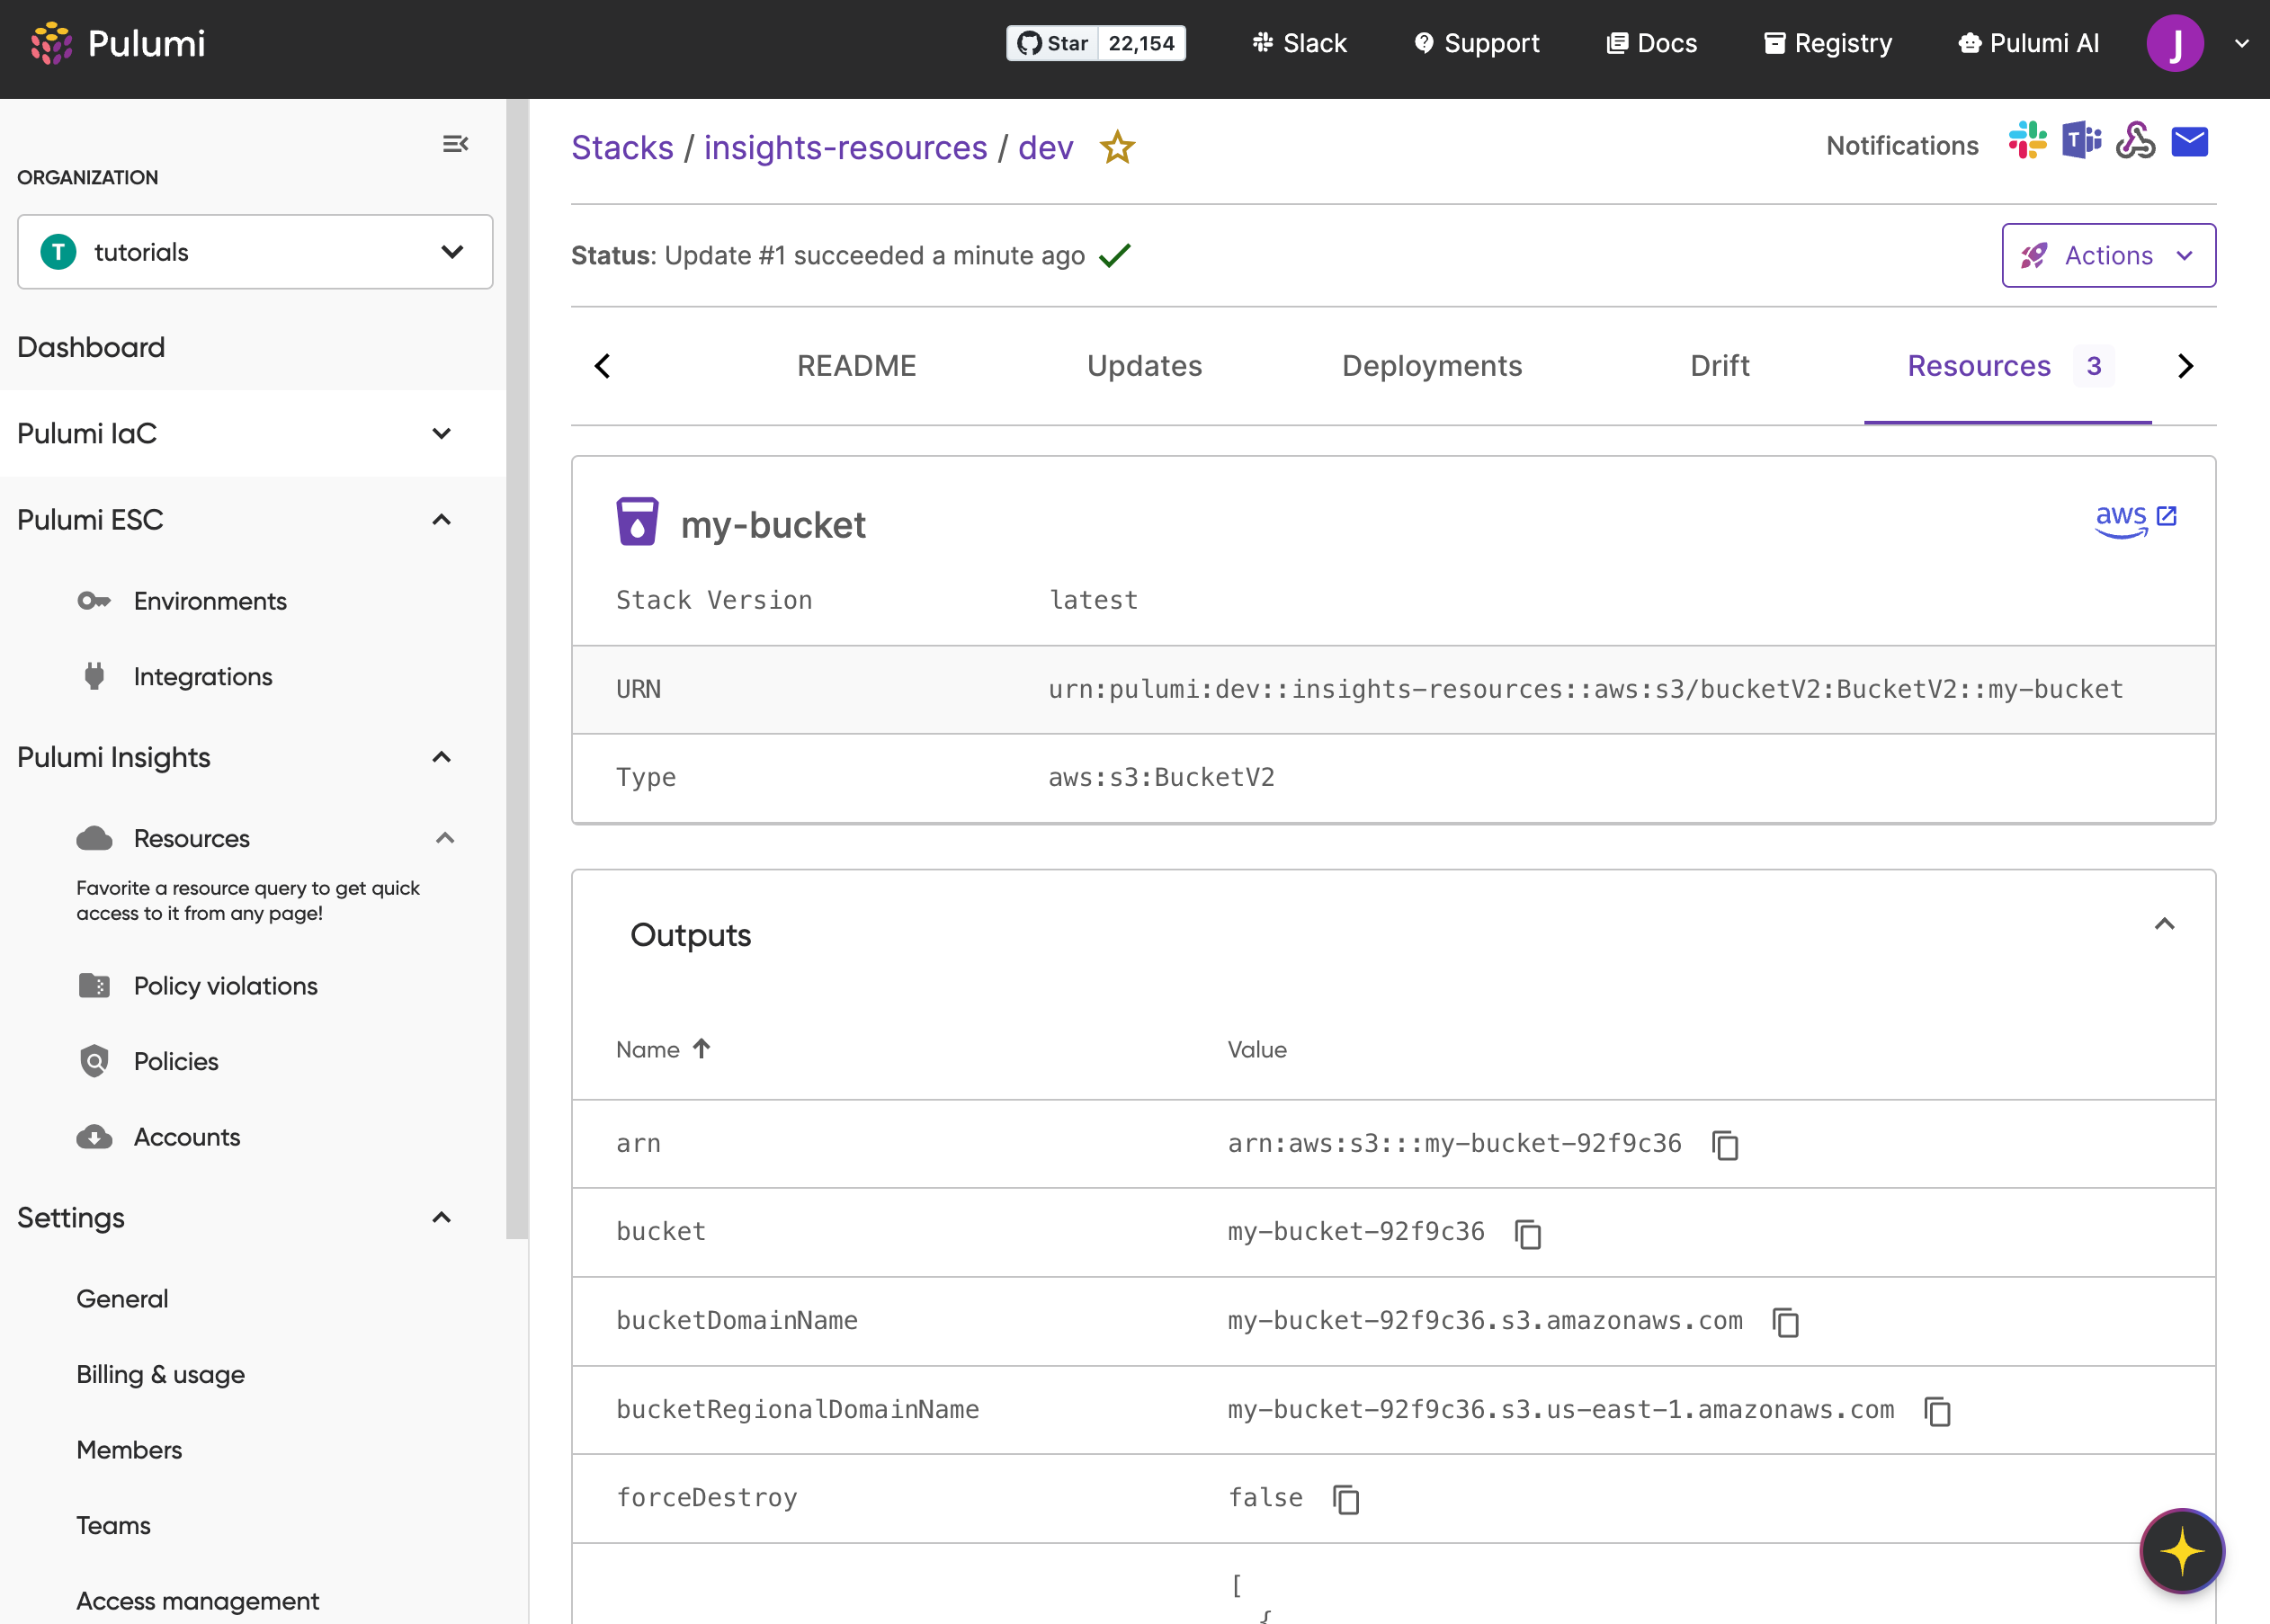
- Resource navigation: Click on a resource’s name to view its Resource Details page. This page includes:
- Resource history: Pulumi tracks and displays all versions of a resource, with changes based on property updates.
- Properties: View detailed properties for each resource version.
- References: See edges (relationships) to other resources in the same account.
Configure ESC credentials
AWS
The AWS scanner for Pulumi Cloud requires access to the AWS account you want to scan. Use an ESC environment to generate credentials dynamically. Follow these steps:
AWS partitions
Pulumi Insights supports every AWS partition. Select the partition that matches the account you are scanning on the Discovery step when you create the Insights account:
- AWS Standard (commercial)
- AWS GovCloud (US)
- AWS ISO (US)
- AWS ISOB (US)
- AWS ISOF (US)
- AWS ISOE (Europe)
- AWS European Sovereign Cloud
- AWS China
The selected partition determines which STS endpoint the scanner uses to exchange credentials and which regions are available for discovery. Within a partition, you choose which regions to scan — useful when a region is disabled for your account or out of scope for a given audit.
arn:aws-us-gov:iam::... for GovCloud or arn:aws-cn:iam::... for China) instead of the default arn:aws:.Create an IAM role with the appropriate trust policy for Pulumi Cloud:
{
    "Version": "2012-10-17",
    "Statement": [
        {
            "Effect": "Allow",
            "Principal": {
                "Federated": "arn:aws:iam::<ACCOUNT_ID>:oidc-provider/api.pulumi.com/oidc"
            },
            "Action": "sts:AssumeRoleWithWebIdentity",
            "Condition": {
                "StringEquals": {
                    "api.pulumi.com/oidc:aud": "aws:<YOUR_PULUMI_ORG>"
                }
            }
        }
    ]
}
Assign permissions: Give that IAM role the right permissions to allow Pulumi access to scan resources. Use the
ReadOnlyAccessmanaged policy for quick setup.Learn more about the AWS ReadOnlyAccess policy.Create an ESC environment: Configure it to assume the role via OIDC. See ESC AWS provider documentation.
Assign the ESC environment: Link the ESC environment to your Insights account during account creation.
Azure
The Azure scanner for Pulumi Cloud requires access to your Azure subscription. This access can be granted by creating an ESC environment that, when opened, produces valid credentials for the Pulumi Azure Native provider to consume.
Option 1: OIDC authentication (recommended)
Create a Microsoft Entra application and configure federated credentials:
- Follow the steps in Configuring OpenID Connect for Azure
- When configuring the federated credential:
- Audience:
azure:<your-pulumi-org-name> - Subject identifier:
pulumi:environments:org:<your-pulumi-org-name>:env:<esc-project-name>/<esc-environment-name>
- Audience:
- Note the Application (client) ID, Directory (tenant) ID, and Subscription ID
Use the following ESC configuration:
values:
  azure:
    login:
      fn::open::azure-login:
        clientId: <YOUR_CLIENT_ID>
        tenantId: <YOUR_TENANT_ID>
        subscriptionId: <YOUR_SUBSCRIPTION_ID>
        oidc: true
  environmentVariables:
    ARM_USE_OIDC: 'true'
    ARM_CLIENT_ID: ${azure.login.clientId}
    ARM_TENANT_ID: ${azure.login.tenantId}
    ARM_OIDC_TOKEN: ${azure.login.oidc.token}
    ARM_SUBSCRIPTION_ID: ${azure.login.subscriptionId}
Option 2: Client secret authentication
Create a Service Principal in Azure, then generate the following values:
- clientId (also called appId in the Azure UI)
- tenantId
- subscriptionId
- clientSecret (also called password in the Azure UI)
Use the following ESC configuration:
values:
  azure:
    fn::open::azure-login:
      clientId: <YOUR_CLIENT_ID>
      tenantId: <YOUR_TENANT_ID>
      subscriptionId: <YOUR_SUBSCRIPTION_ID>
      clientSecret:
        'fn::secret': <INSERT_CLIENT_SECRET_HERE>
  environmentVariables:
    ARM_CLIENT_ID: ${azure.clientId}
    AZURE_CLIENT_ID: ${azure.clientId}
    ARM_TENANT_ID: ${azure.tenantId}
    AZURE_TENANT_ID: ${azure.tenantId}
    ARM_SUBSCRIPTION_ID: ${azure.subscriptionId}
    ARM_CLIENT_SECRET: ${azure.clientSecret}
    AZURE_CLIENT_SECRET: ${azure.clientSecret}
Once the ESC environment is set up with the proper credentials (either OIDC or client secret), assign it to your Insights account during the account creation phase.
OCI
The OCI scanner for Pulumi Cloud requires access to your Oracle Cloud account. This access can be granted by creating an ESC environment that, when opened, produces valid credentials to use the Pulumi OCI provider. Below are the steps to configure OCI credentials.
- Set up API Key authentication by providing the following credentials:
- OCI_TENANCY_OCID: OCID of the tenancy. To get the value, see Where to Get the Tenancy’s OCID and User’s OCID.
- OCI_USER_OCID: The OCID of the user calling the API. See Where to Get the Tenancy’s OCID and User’s OCID.
- OCI_PRIVATE_KEY_PASSWORD: (Optional) Passphrase used for the key, if it’s encrypted.
- OCI_FINGERPRINT: Fingerprint for the key pair being used. See How to Get the Key’s Fingerprint.
- OCI_REGION: The OCI region where your resources are located. See Regions and Availability Domains.
- OCI_PRIVATE_KEY_PATH: The private key is required to be listed as an ESC file. To create a private key and integrate it with ESC, see How to Generate an API Signing Key and how to upload the public key
Use the following ESC configuration to provide the required credentials:
values:
  environmentVariables:
    OCI_FINGERPRINT: "25:ad:34:****************:cd:05:05:08:02:a7"
    OCI_REGION: "us-phoenix-1"
    OCI_TENANCY_OCID: "ocid1.tenancy.oc1..tenancyidnumbers"
    OCI_USER_OCID: "user_ocid"
  files:
    OCI_PRIVATE_KEY_PATH: "<PRIVATE_KEY_CONTENT>"
Once the ESC environment is set up with the proper credentials, assign it to your Insights account during the account creation phase.
Kubernetes (K8s)
By default, the Kubernetes scanner uses kubeconfig for authentication. You can provide the contents of the kubeconfig file using a file-based environment variable. The authenticated user must have get and list permissions at the cluster scope to discover all resources.
An example ESC configuration would look like:
values:
  files:
    KUBECONFIG: <INSERT_KUBECONFIG_CONTENTS>  # Provide the kubeconfig contents here
This configuration projects the kubeconfig file contents to a temporary file that the ESC scanner uses for authentication.
aws, gcloud), so kubeconfig files relying on client-go credential plugins are not supported. We recommend creating a service account with the necessary cluster-scoped permissions (get and list) and using its token for authentication.Creating a Service Account with Cluster-Scoped View/List Permissions
Follow these steps to create a service account, ClusterRole, and ClusterRoleBinding with the required permissions.
- Apply the YAML Manifest
# Create a service account
apiVersion: v1
kind: ServiceAccount
metadata:
  name: my-service-account  # Replace with your service account name
  namespace: default  # Replace with your namespace
---
# Create a long-lived token for authentication by Pulumi Insights
apiVersion: v1
kind: Secret
metadata:
  name: my-service-account-secret  # Replace with your secret name
  annotations:
    kubernetes.io/service-account.name: my-service-account
type: kubernetes.io/service-account-token
---
# Create a ClusterRole which allows view/list permissions on all objects
apiVersion: rbac.authorization.k8s.io/v1
kind: ClusterRole
metadata:
  name: read-only-cluster-role
rules:
  - apiGroups: ["*"]
    resources: ["*"]
    verbs: ["get", "list"]
---
# Create a ClusterRoleBinding to allow access
apiVersion: rbac.authorization.k8s.io/v1
kind: ClusterRoleBinding
metadata:
  name: read-only-clusterrolebinding
subjects:
  - kind: ServiceAccount
    name: my-service-account  # Replace with your service account name
    namespace: default  # Replace with your namespace
roleRef:
  kind: ClusterRole
  name: read-only-cluster-role
  apiGroup: rbac.authorization.k8s.io
- Verify service account access. Use the following command to verify the service account’s permissions:
kubectl auth can-i list pods --as=system:serviceaccount:default:my-service-account
For more details, see the Kubernetes documentation: kubectl auth can-i.
- Retrieve Service Account Details. Fetch the details required for creating a kubeconfig:
Token:
kubectl get secret my-service-account-secret -n default -o jsonpath='{.data.token}' | base64 --decodeCA Certificate:
kubectl get secret my-service-account-secret -n default -o jsonpath='{.data.ca\.crt}'Cluster Server URL:
kubectl config view --minify --flatten -o jsonpath='{.clusters[0].cluster.server}'
- Create Kubeconfig Using the retrieved details, create the following kubeconfig:
apiVersion: v1
kind: Config
clusters:
- name: my-cluster
  cluster:
    server: https://<CLUSTER_SERVER_URL>  # Replace with the cluster server URL
    certificate-authority-data: <BASE64_ENCODED_CA_CERT>  # Replace with base64-encoded CA cert
contexts:
- name: my-service-account-context
  context:
    cluster: my-cluster
    namespace: default  # Replace with your namespace
    user: my-service-account
current-context: my-service-account-context
users:
- name: my-service-account
  user:
    token: <SERVICE_ACCOUNT_TOKEN>  # Replace with the decoded service account token
- (Optional) Streamline the process with a script. Use the following script to automate the creation of the kubeconfig file:
SERVICE_ACCOUNT_NAME="my-service-account"  # Replace with your service account name
NAMESPACE="default"  # Replace with your namespace
KUBECONFIG_PATH="kubeconfig.yaml"  # Path to save the kubeconfig file
SECRET_NAME="my-service-account-secret"  # Replace with your secret name

# Fetch details
TOKEN=$(kubectl get secret $SECRET_NAME -n $NAMESPACE -o jsonpath='{.data.token}' | base64 --decode)
CA_CERT=$(kubectl get secret $SECRET_NAME -n $NAMESPACE -o jsonpath='{.data.ca\.crt}')
CLUSTER_SERVER=$(kubectl config view --minify --flatten -o jsonpath='{.clusters[0].cluster.server}')

# Create kubeconfig
cat <<EOF > $KUBECONFIG_PATH
apiVersion: v1
kind: Config
clusters:
- name: my-cluster
  cluster:
    server: $CLUSTER_SERVER
    certificate-authority-data: $CA_CERT
contexts:
- name: my-service-account-context
  context:
    cluster: my-cluster
    namespace: $NAMESPACE
    user: $SERVICE_ACCOUNT_NAME
current-context: my-service-account-context
users:
- name: $SERVICE_ACCOUNT_NAME
  user:
    token: $TOKEN
EOF

echo "Kubeconfig written to $KUBECONFIG_PATH"
Google Cloud
The Google Cloud scanner for Pulumi Cloud requires read access to your project. Configure ESC to generate Service Account credentials dynamically through OpenID Connect (OIDC).
Configure OpenID Connect for Google Cloud:
- Follow the steps in Configuring OpenID Connect For Google Cloud
- The service account must be granted the Viewer role
Use the following ESC configuration:
  values:
    gcp:
      login:
        fn::open::gcp-login:
          project: <numeric project id>
          oidc:
            workloadPoolId: <workload pool id>
            providerId: <provider id>
            serviceAccount: <service account>
    environmentVariables:
      GOOGLE_PROJECT: ${gcp.login.project}
      GOOGLE_OAUTH_ACCESS_TOKEN: ${gcp.login.accessToken}