Pulumi ESC: Create A New Environment
Overview
In Pulumi ESC, an environment is a collection of configuration intended to capture the configuration values needed to work with a particular environment. Environments belong to a Project, which is a collection of related environments.
An environment can be created one of two ways:
- via the Pulumi Cloud console
- via the CLI
This tutorial will walk you through how to create a new environment.
Create an environment
Create via the console
To create an environment via the console, navigate to Pulumi Cloud and select the Environments link in the left-hand menu.
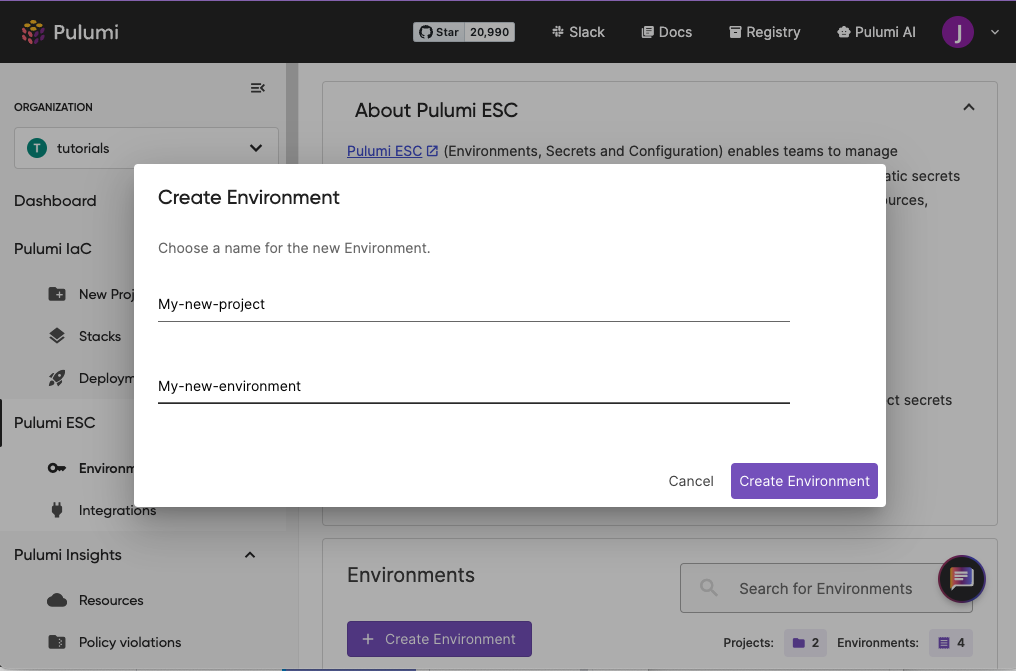
You will be directed to the Environments landing page. To create a new environment, click the Create Environment button. Enter a name for the project your environment should belong in (e.g. my-project) and a name for your environment (e.g., dev-environment for a development environment) and then click Create Environment. You will then be directed to the environment definition page.

Create via the CLI
To create an environment via the CLI, use the esc env init command as shown below, where <org-name> is optional and defaults to your Pulumi Cloud username.
esc env init [<org-name>/]<project-name>/<environment-name>
Note that environment names must be unique within a project and may only contain alphanumeric characters, hyphens, underscores, and periods. If you specify an existing project the new environment will be created within it, otherwise a new project will be created.
$ esc env init my-project/dev-environment
Environment created.
You can validate that your environment was created by running the esc env ls command which will list all of the environments that you have access to.
$ esc env ls
myorg/my-project/dev-environment
In the next section, you will learn how to store configuration values and secrets in your environment.
Thank you for your feedback!
If you have a question about how to use Pulumi, reach out in Community Slack.
Open an issue on GitHub to report a problem or suggest an improvement.
