Deploy WordPress to AWS EC2 using Pulumi and Ansible
Deploy an EC2 Wordpress server using Pulumi and Ansible.
This example lives in the pulumi/examples repository. Check out just this directory to use it:
git clone --filter=blob:none --sparse https://github.com/pulumi/examples pulumi-examplesgit -C pulumi-examples sparse-checkout set aws-go-ansible-wordpresscd pulumi-examples/aws-go-ansible-wordpressThis project demonstrates how to use Pulumi and Ansible together. Pulumi handles provisioning the AWS infrastructure
required to run Wordpress on an EC2 instance, with an RDS MySQL database, running inside of a VPC with proper public
and private subnets, and exposed to the Internet using an Elastic IP address. Ansible handles configuring the EC2
virtual machine after it’s been provisioned with a playbook that knows how to install and configure Wordpress.
The entire deployment is orchestrated by Pulumi in a single pulumi up thanks to the
Command package which runs a combination of local and remote SSH
commands to accomplish the desired effect. The result is repeatable automation that both provisions and configures.
Note: This code was adapted from https://github.com/devbhusal/terraform-ansible-wordpress. Thank you devbhusal!
Note: This example is available in many languages:
Prerequisites#
Deploying the example#
-
Create a new stack, an isolated deployment target for this example:
Terminal window pulumi stack init -
Install dependencies:
Terminal window go mod download -
Generate a key pair which will be used to access your EC2 instance over SSH:
Terminal window ssh-keygen -f wordpress-keypairThis will create two files: your private (
wordpress-keypair) and your public (wordpress-keypair.pub) keys. Keep your private key safe, since anybody with access to it can log into your EC2 machine!Note that you may choose a different file name if you’re creating multiple stacks, for instance.
-
Set the required configuration variables, choosing any valid AWS region. The code is written in such a way to work in any AWS region, including fetching the right Amazon Linux 2 AMI and availability zones:
Terminal window pulumi config set aws:region us-east-1 # any valid AWS regionpulumi config set publicKeyPath wordpress-keypair.pub # your newly generated public keypulumi config set privateKeyPath wordpress-keypair # your newly generated private keypulumi config set dbPassword Sup45ekreT#123 --secret # your RDS database password -- keep it safe!There are some other optional variables you can set if you choose. Feel free to skip these. If you don’t set them, they’ll receive the default values shown below:
Terminal window pulumi config set dbInstanceSize db.t3.small # the RDS instance size to usepulumi config set dbName wordpressdb # the name of the Wordpress database in RDSpulumi config set dbUsername admin # the name of the Wordpress user that will be usedpulumi config set ec2InstanceSize t3.small # the EC2 instance size to provision -
Deploy the stack with
pulumi up. This will do all of the magic, and you’ll see various things going on in the output: resources being created in AWS, commands being run locally and remotely, and the Ansible Playbook running and provisioning your Wordpress server:Terminal window pulumi upUpdating (dev)Type Name Status Info+ pulumi:pulumi:Stack pulumi-ansible-wordpress-dev created+ ├─ aws:ec2:Vpc prod-vpc created+ ├─ aws:ec2:KeyPair wordpress-keypair created+ ├─ aws:ec2:Subnet prod-subnet-private-1 created+ ├─ aws:ec2:InternetGateway prod-igw created+ ├─ aws:ec2:Subnet prod-subnet-private-2 created+ ├─ aws:ec2:Subnet prod-subnet-public-1 created+ ├─ aws:ec2:SecurityGroup ec2-allow-rule created+ ├─ aws:ec2:RouteTable prod-public-rt created+ ├─ aws:rds:SubnetGroup rds-subnet-grp created+ ├─ aws:ec2:SecurityGroup rds-allow-rule created+ ├─ aws:rds:Instance wordpressdb created+ ├─ aws:ec2:RouteTableAssociation prod-rta-public-subnet-1 created+ ├─ aws:ec2:Instance wordpress-instance created+ ├─ command:local:Command renderPlaybookCmd created+ ├─ aws:ec2:Eip wordpress-eip created+ ├─ command:remote:Command updatePythonCmd created 12 messages+ └─ command:local:Command playAnsiblePlaybookCmd createdDiagnostics:command:remote:Command (updatePythonCmd):...Outputs:url: "35.83.214.168"Resources:+ 18 createdDuration: 8m13s -
After a few minutes, your new server will be ready! Its automatically-allocated EIP is printed at the end as
url. You can access it with thepulumi stack outputcommand:Terminal window pulumi stack output url35.83.214.168 -
Because of the network configuration, the EC2 server is available over port 80 on the Internet. (The RDS database, on the other hand, is not). Curl the endpoint:
Terminal window curl -L http://$(pulumi stack output url)<!DOCTYPE html><html lang="en-US" xml:lang="en-US"><head>...</head><body class="wp-core-ui language-chooser">...Alternatively, open a web browser to interact with your new Wordpress server:
Terminal window open http://$(pulumi stack output url)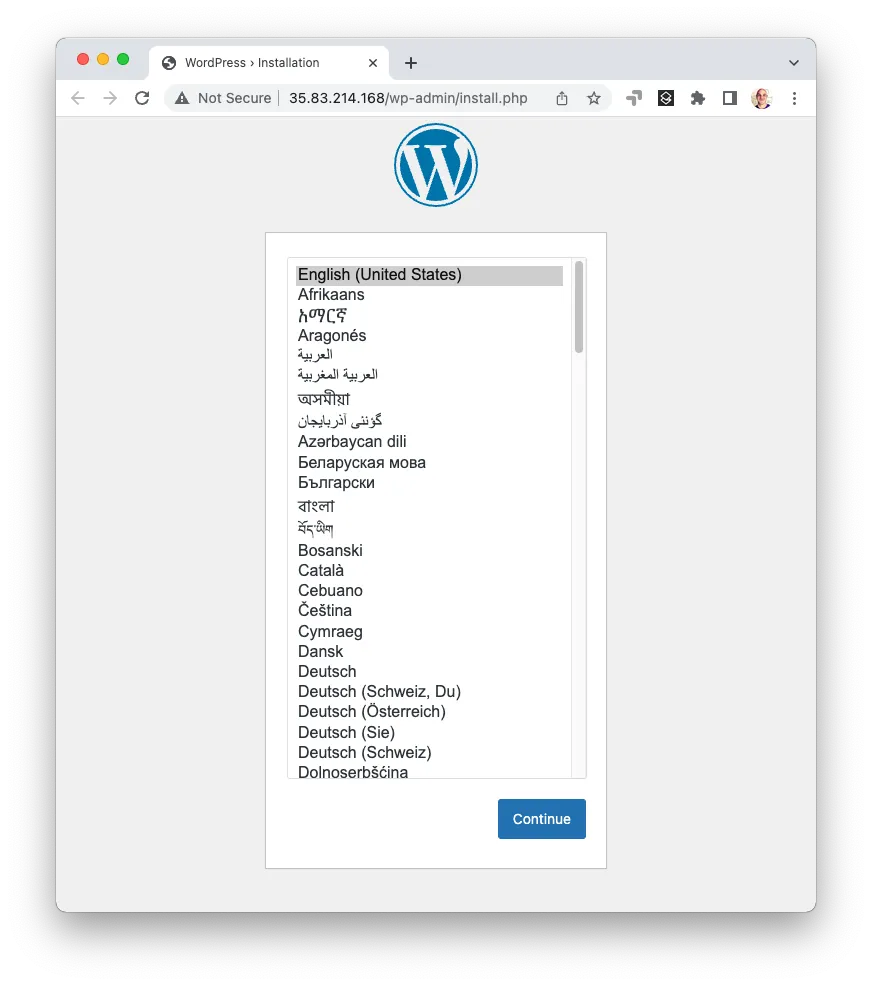
From there, feel free to experiment. You can simply make edits, rerun
pulumi up, and it will incrementally update and deploy any changes you have made.
Cleaning up#
Once you’re done, you can destroy your stack and remove it, eliminating all AWS resources:
pulumi destroypulumi stack rm