SAML: Configuring Auth0
This guide walks you through configuring your Auth0 Authentication Platform as a SAML SSO identity provider (IDP) for the Pulumi Cloud.
Prerequisites
- Your organization must already be configured to use SAML with Pulumi.
- You must be an admin of your Pulumi organization.
- (Optional, but highly recommended) You should have more than one admin for your Pulumi organization.
Enabling SAML For Your Auth0 Authentication Platform
To enable SAML for your Auth0 Authentication Platform, navigate to the Applications section of your Auth0 dashboard. You may need to create a new application or select an existing application. Next, we need to get the SAML metadata XML to configure Pulumi. For this, navigate to the Settings tab of your application and scroll down to the Advanced Settings section.

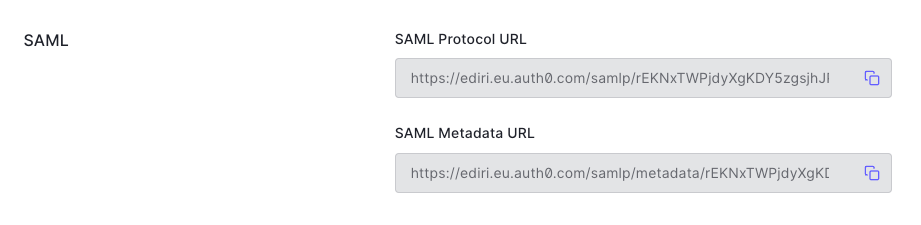
Expand the Advanced Settings section and click on the Endpoints tab. In the Endpoints tab, scroll down to
the SAML section. Copy the SAML Metadata URL link and download the metadata XML file via
the browser or a command line tool like curl.
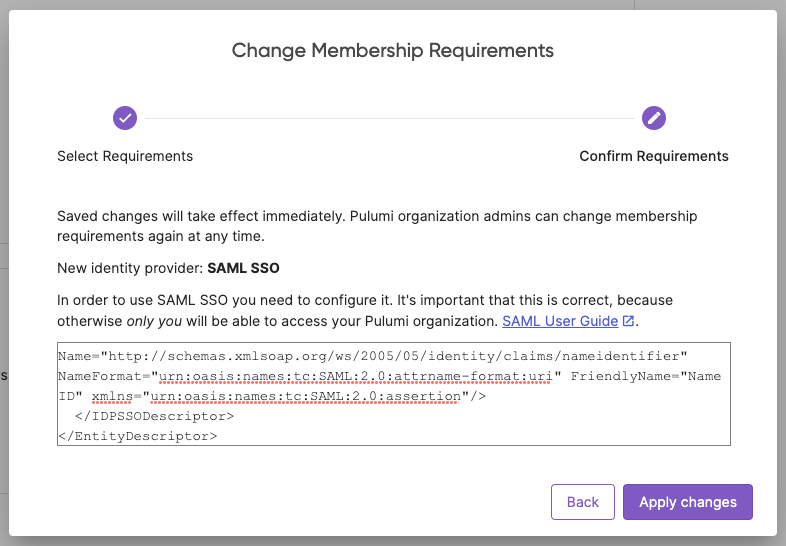
Paste the contents of the downloaded XML file in the Change Membership Requirements dialog for setting up Pulumi SAML SSO.
Finally, in the Settings tab of your application, navigate to the Application URIs section. In the Application Login URI field, enter the URL of your Pulumi organization in following format:
https://api.pulumi.com/login/{orgName}/sso/saml/acs
where {orgName} is the name of your Pulumi organization. Additionally, in the Allowed Callback URLs field, enter
the same URL.
Troubleshooting
Auth0 Troubleshoot SAML Configurations: SAML app error messages
If you need additional assistance, contact us.
Thank you for your feedback!
If you have a question about how to use Pulumi, reach out in Community Slack.
Open an issue on GitHub to report a problem or suggest an improvement.
