SAML: Configuring OneLogin
This guide walks you through configuring OneLogin as a SAML SSO identity provider (IdP) for the Pulumi Cloud.
Prerequisites
Creating the OneLogin Application
The first step is to create a new OneLogin Application for Pulumi SSO:
From the OneLogin Administration portal, go to the Applications page and select the Add App button.
Search for
SAML Custom Connector (Advanced)and select it.
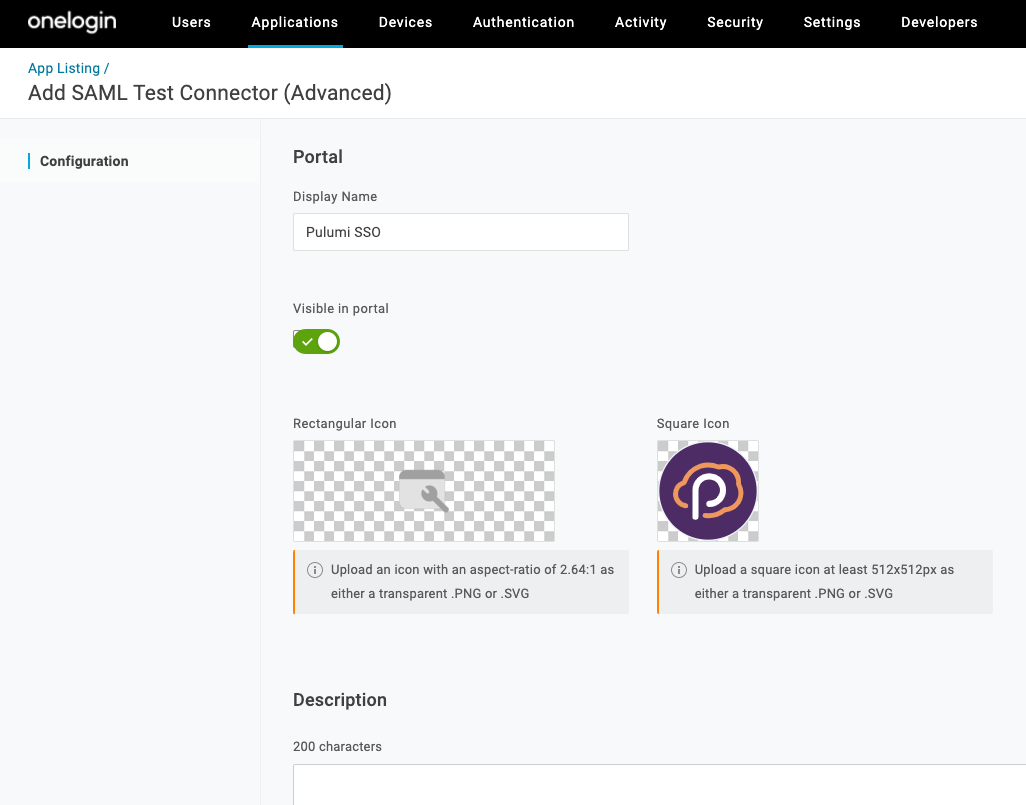
Enter a Display Name and optionally a logo. See Pulumi Logos.
Select Save.
Configuring the OneLogin Application
Now configure the OneLogin Application with the SAML settings for Pulumi SSO.
Configure SAML URLs
Select the Configuration view for the application and enter/confirm the values in the following table.
The values you need to use are dependent upon your Pulumi organization name. Be sure to replace acmecorp with your actual organization name.
| Configuration Settings | Value |
|---|---|
| Relay State | https://api.pulumi.com/login/acmecorp/sso |
| Audience (EntityID) | https://api.pulumi.com/login/acmecorp/sso/saml/metadata |
| Recipient | https://api.pulumi.com/login/acmecorp/sso/saml/acs |
| ACS Consumer URL Validator | .* |
| ACS Consumer URL | https://api.pulumi.com/login/acmecorp/sso/saml/acs |
| SAML initiator | OneLogin |
| SAML nameID format | Email |
| SAML issuer type | Specific |
| SAML signature element | Response |
| SAML encryption method | TRIPLEDES-CBC |
EmailAddress or Persistent.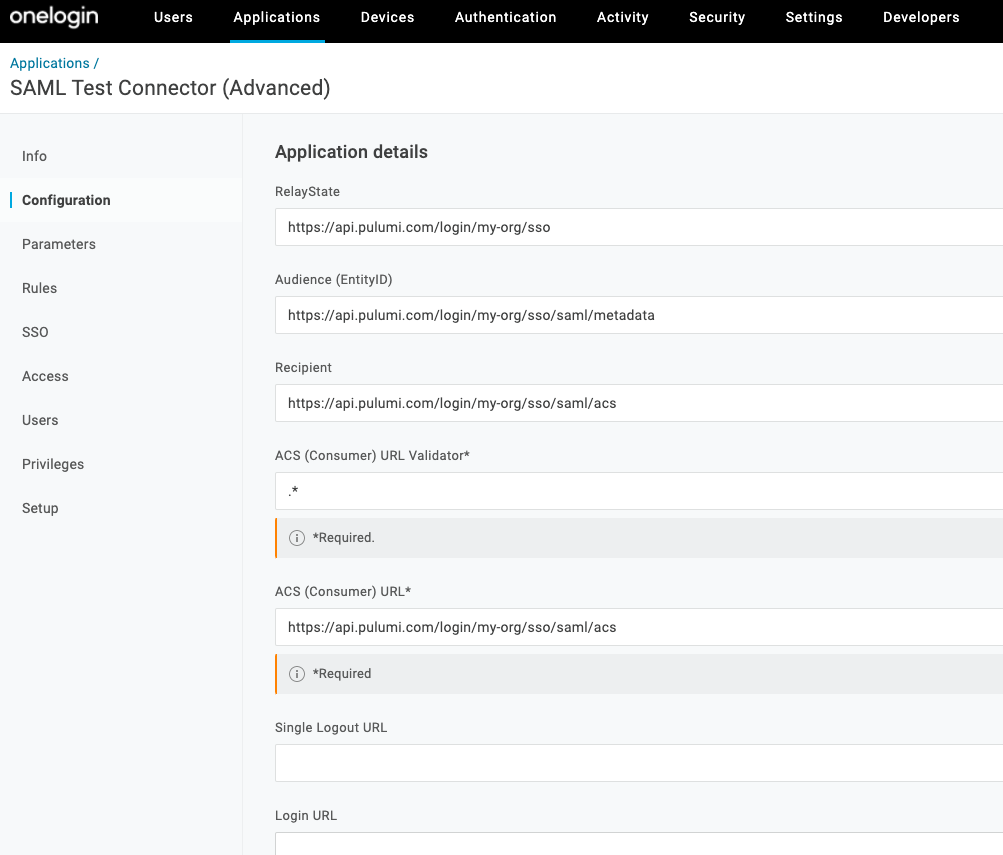
Configure SSO Settings
Select the SSO view for the application and set/confirm the following:
| SSO Settings | Value |
|---|---|
| SAML Signature Algorithm | SHA-512 |

User Assignments
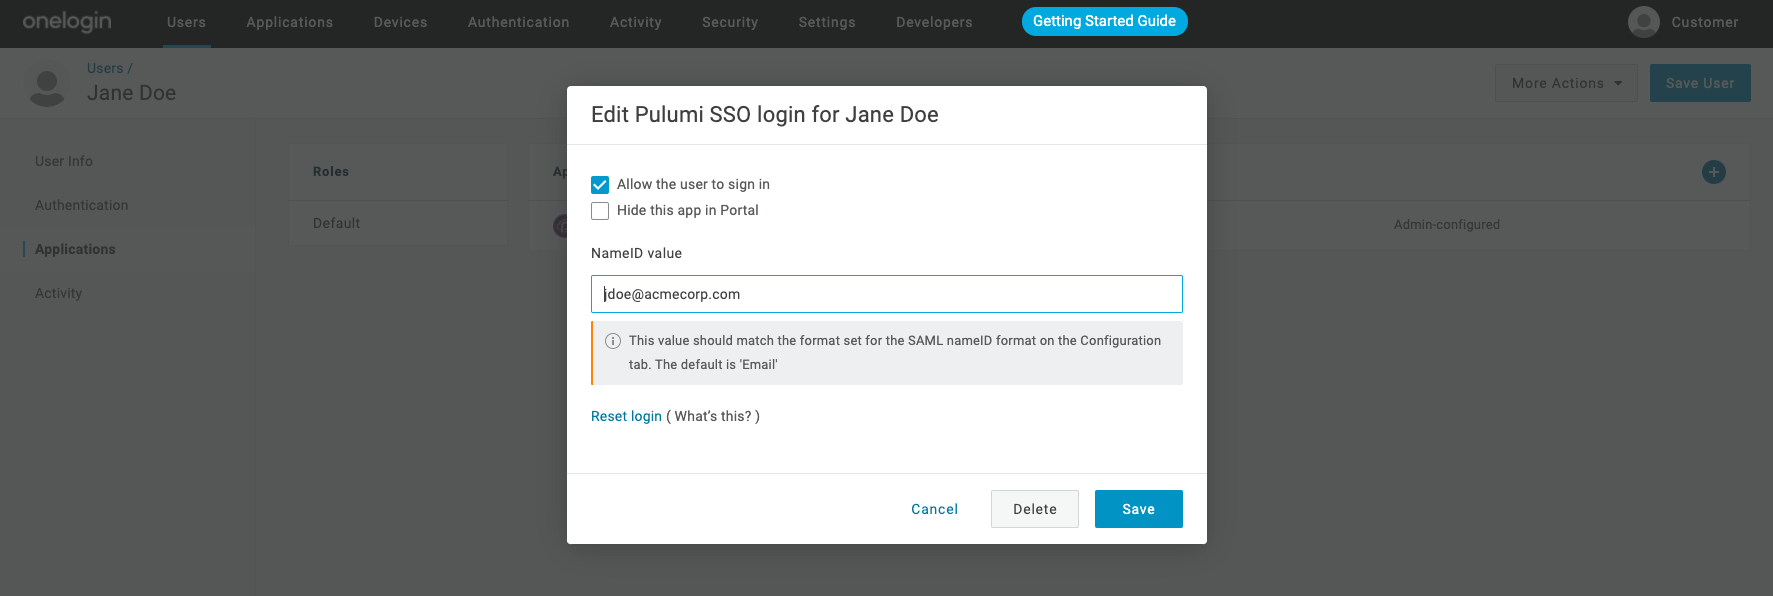
After the Pulumi SAML application has been created in OneLogin, the next step is to assign users to it. This will grant specific users or groups access to sign into Pulumi with their OneLogin-provided credentials.
To assign users or groups to the application, navigate to the Users tab in the OneLogin portal to add users and then assign them to the Pulumi SSO application.
Configuring Your Pulumi Organization
The final step is to configure the Pulumi Cloud with details on your new OneLogin-based SAML application. To do this, you need to obtain the IDP metadata document from OneLogin and then provide it to Pulumi.
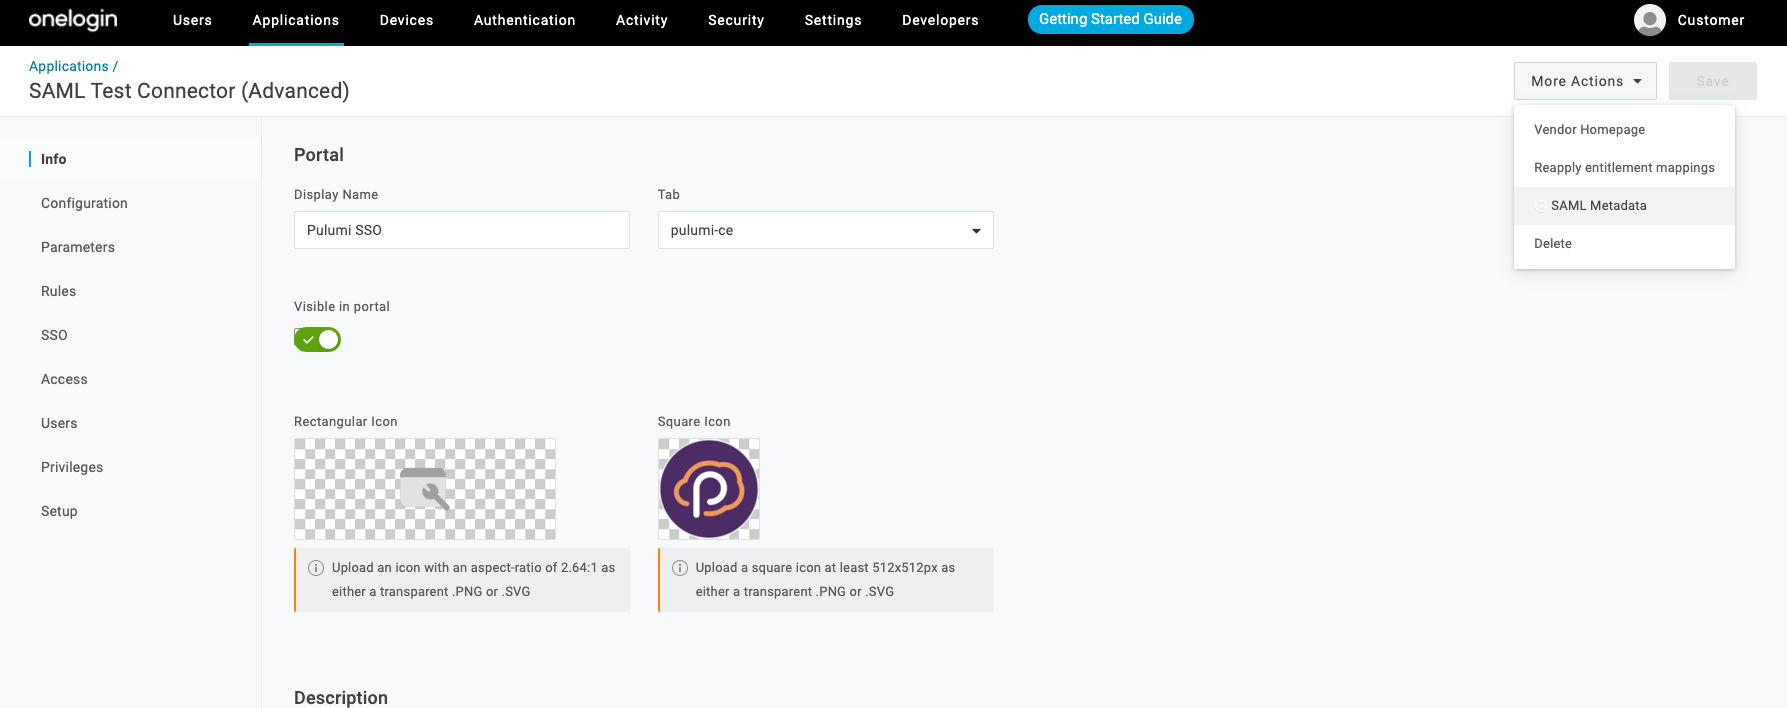
First, navigate to the OneLogin Application you created above and select the More Actions drop down menu button and select SAML Metadata to download the metadata XML file.
Open the file and copy the entire block of XML text in your clipboard
Open the Pulumi Cloud and navigate to your SAML organization.
Select the Settings tab, and then select Access Management.
In the Membership Requirements section, select the Change requirements button.
Select SAML SSO and then select Next.
Paste the IDP metadata XML into the bottom card titled SAML SSO Settings
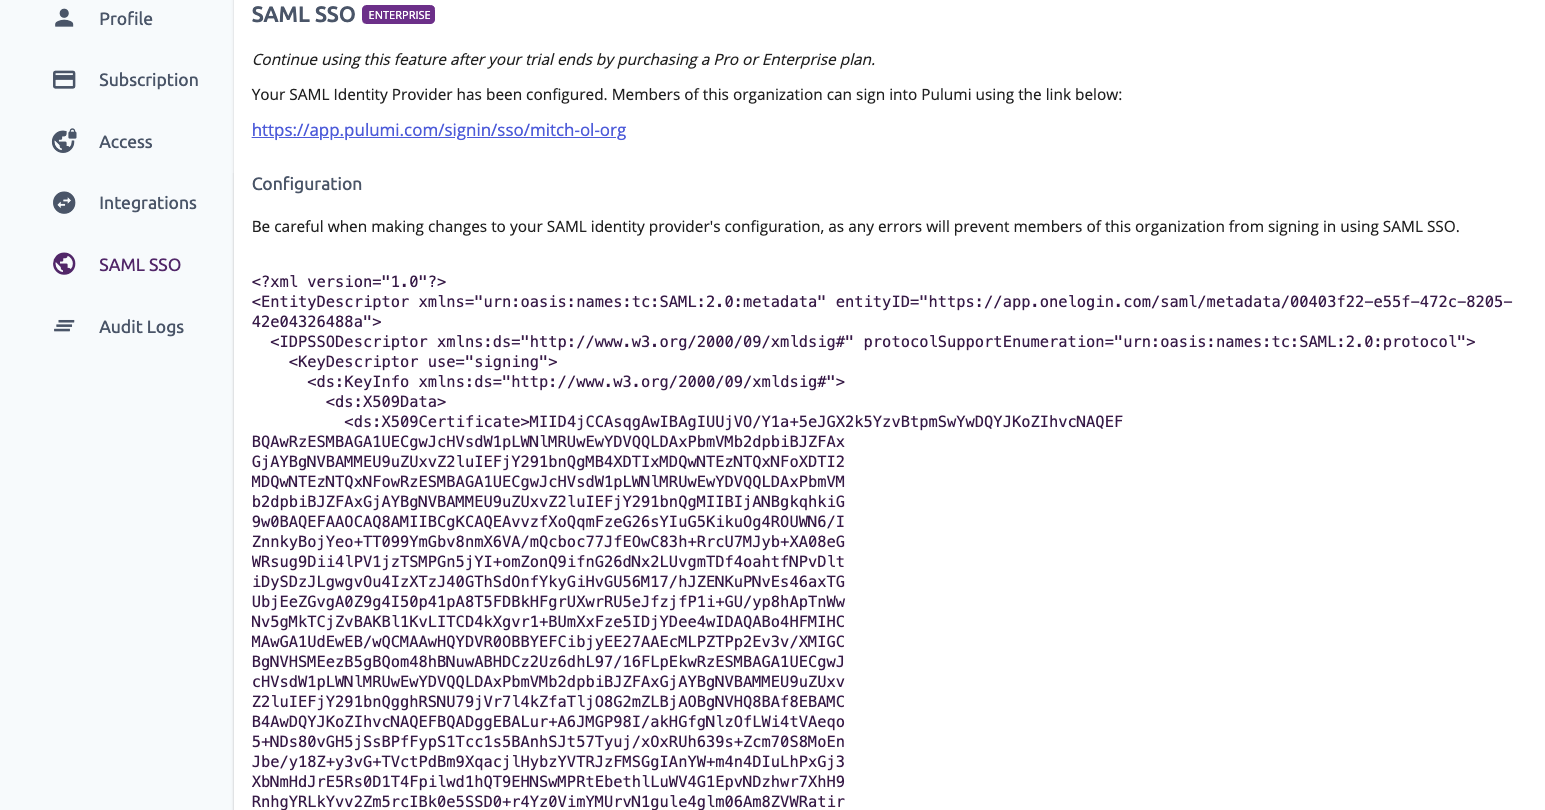
Select Save at the bottom of the card.
Once the IDP metadata descriptor has been saved, you are all set to log into Pulumi.
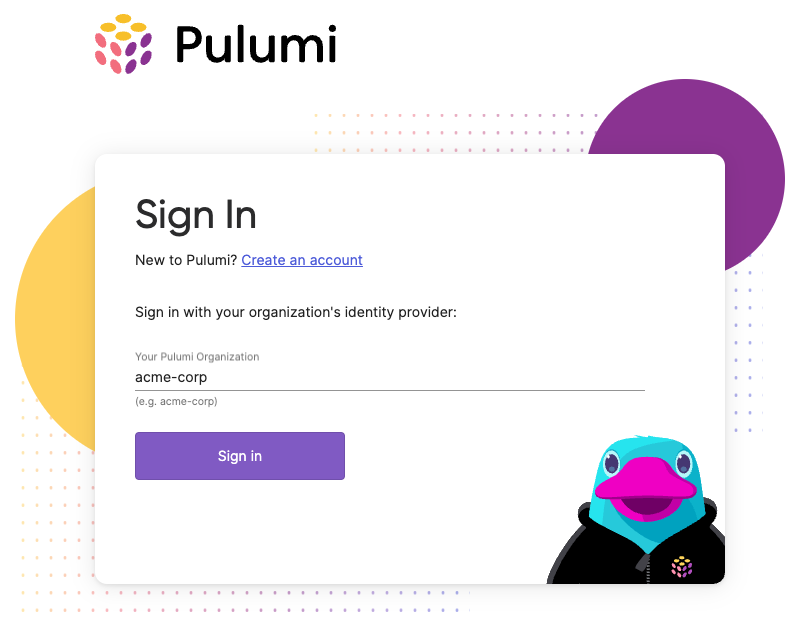
Signing into Pulumi using OneLogin
Members of your OneLogin application can now sign into Pulumi. Navigate to https://app.pulumi.com/signin/sso/ and enter the name of your Pulumi organization.
Troubleshooting
If you run into any troubles configuring OneLogin, signing into Pulumi, or need some assistance, contact us.
Thank you for your feedback!
If you have a question about how to use Pulumi, reach out in Community Slack.
Open an issue on GitHub to report a problem or suggest an improvement.
