Next.js on AWS
A Next.js site deployed on AWS using OpenNext
This example lives in the pulumi/examples repository. Check out just this directory to use it:
git clone --filter=blob:none --sparse https://github.com/pulumi/examples pulumi-examplesgit -C pulumi-examples sparse-checkout set aws-ts-nextjscd pulumi-examples/aws-ts-nextjsThis example deploys a Next.js site on AWS using OpenNext.
Prerequisites#
Deploying the example#
-
Create a new stack, which is an isolated deployment target for this example:
Terminal window pulumi stack init -
Set the AWS region to deploy into:
Terminal window pulumi config set aws:region us-west-2 -
Install dependencies:
Terminal window npm install -
Deploy the stack:
Terminal window pulumi upMost of the infrastructure will deploy within about 30s, but the CloudFront CDN can take 4-5 minutes. After this is complete, a CloudFront URL where your application is served will be shown.
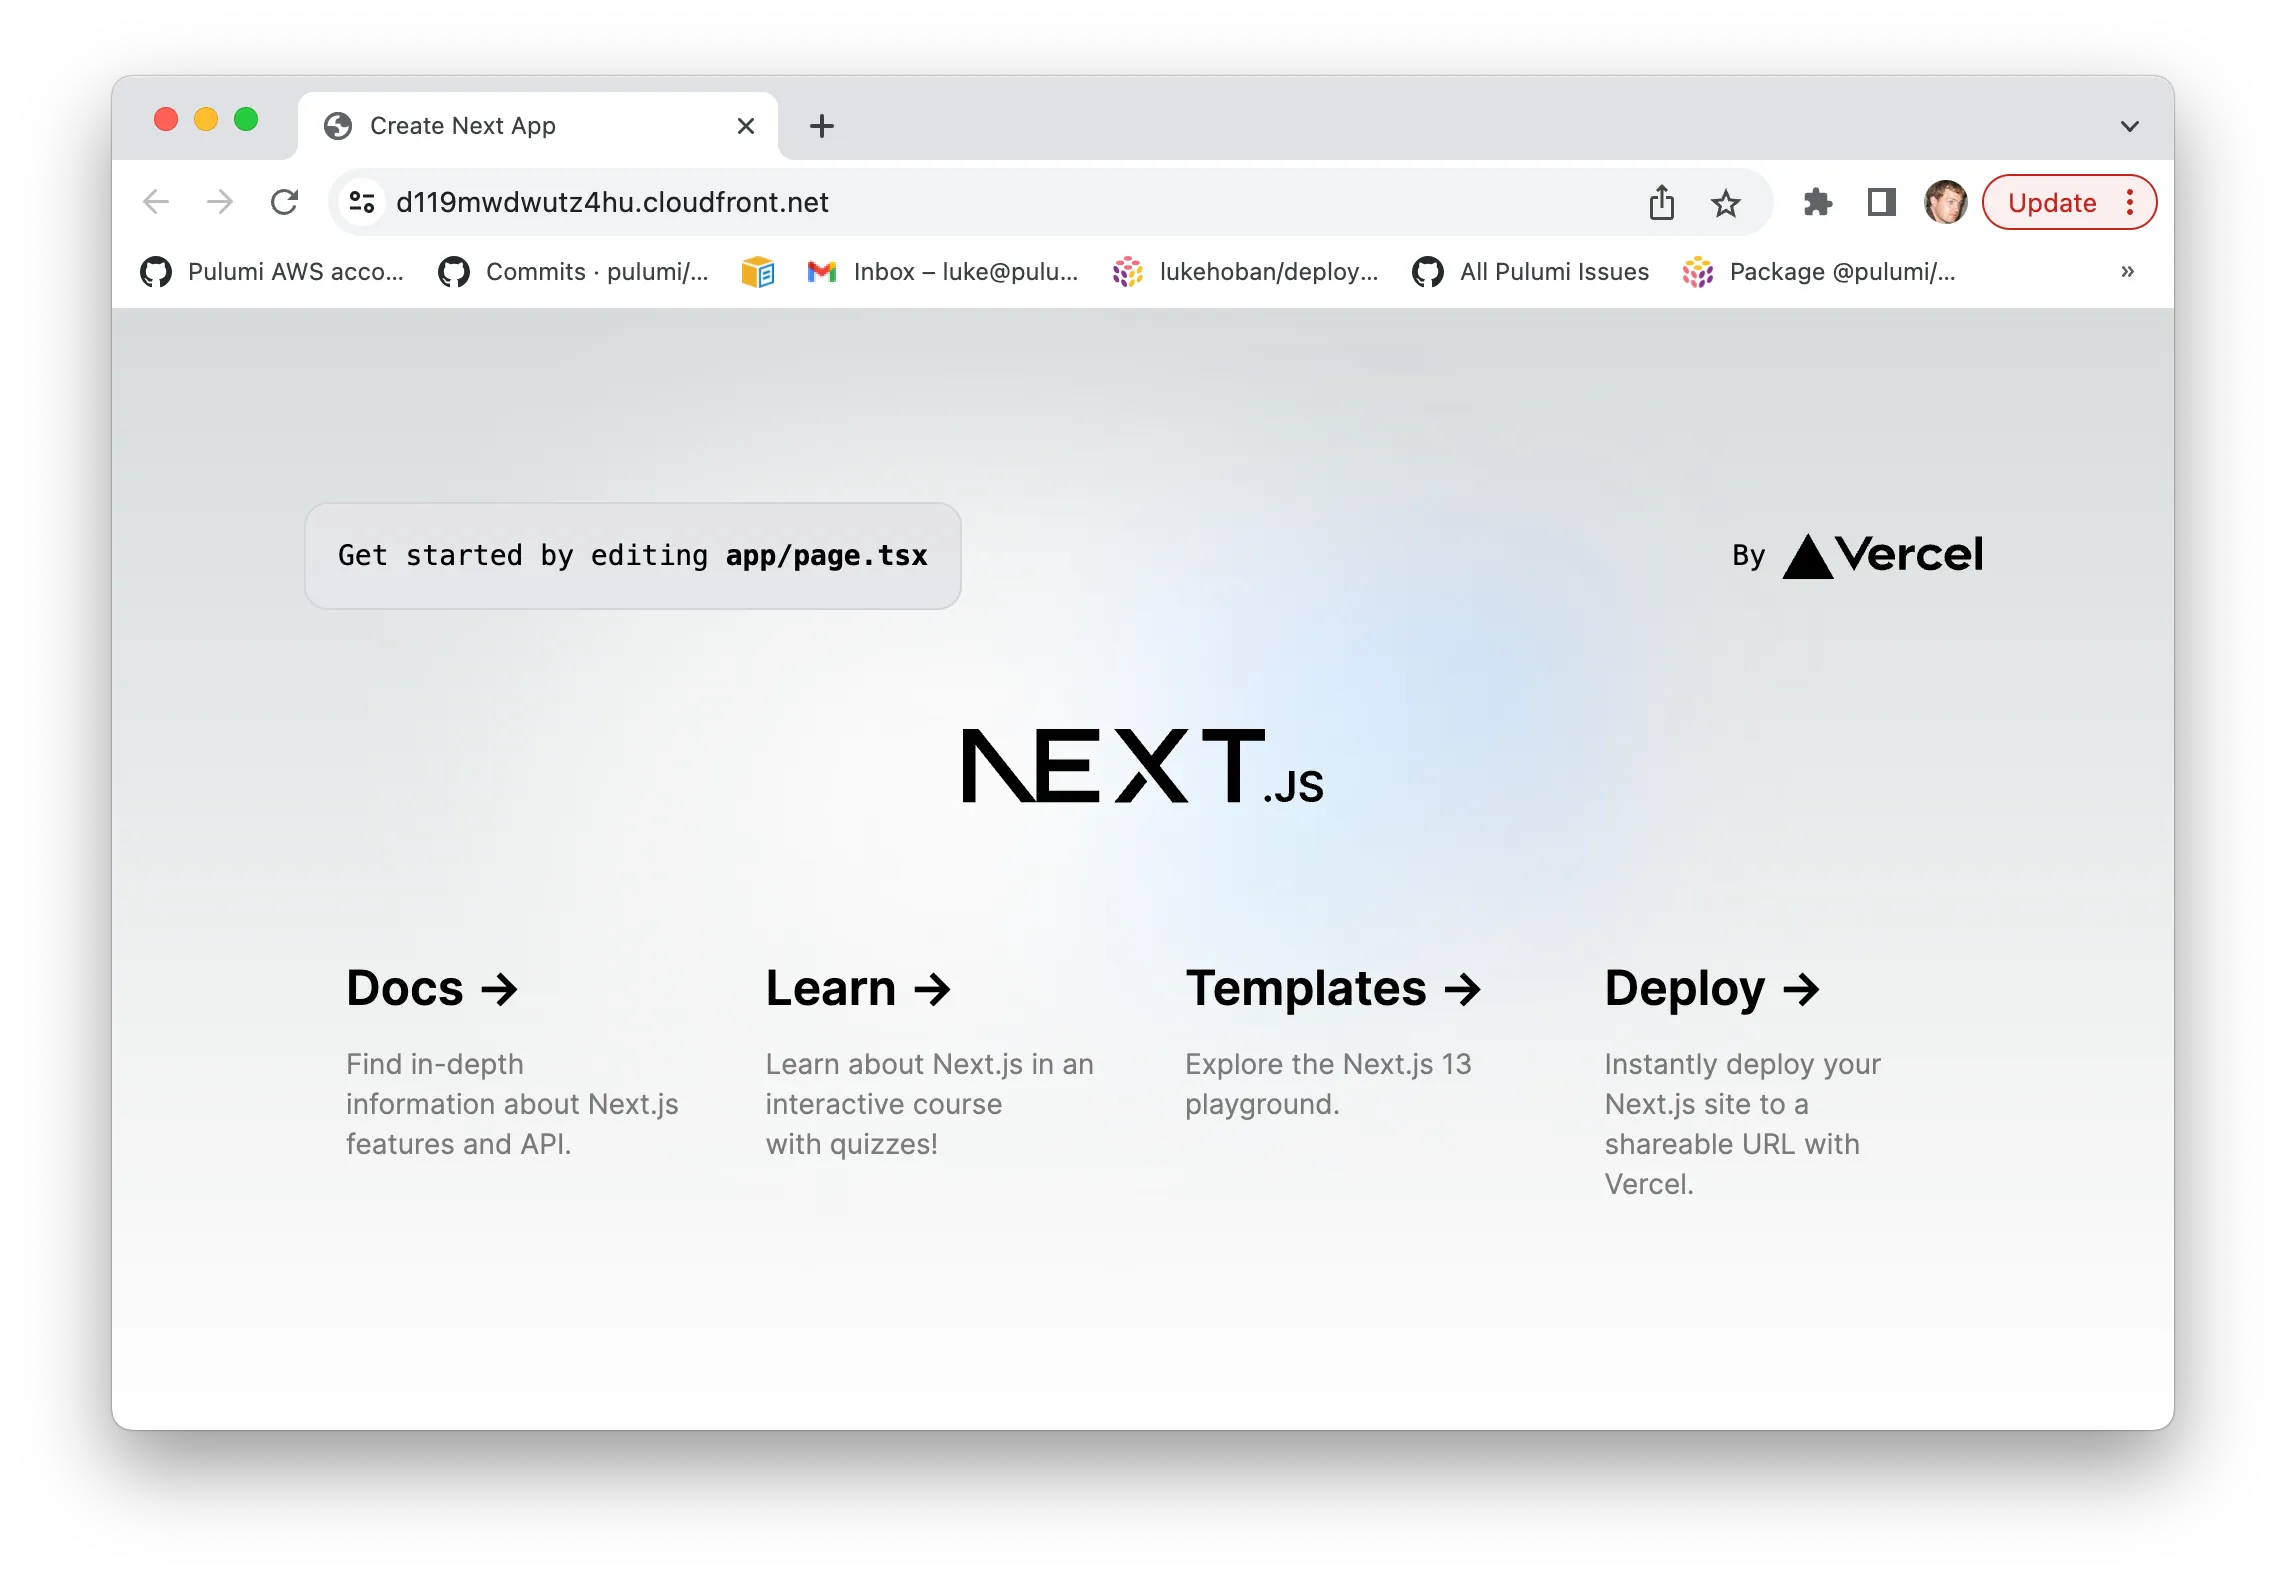
Outputs:url: "https://d119mwdwutz4hu.cloudfront.net"Resources:+ 45 createdDuration: 4m14s -
Open that URL in your browser to see your Next.js demo app.
-
Make changes to the Next.js app in the
demoappfolder, or bring your own Next.js app and point the Pulumi component at it instead.
Cleaning up#
Once you’ve finished experimenting, tear down your stack’s resources by destroying and removing it:
pulumi destroypulumi stack rm