Kubernetes application deployed to multiple clusters
Single application deployed to multiple Kubernetes clusters
This example lives in the pulumi/examples repository. Check out just this directory to use it:
git clone --filter=blob:none --sparse https://github.com/pulumi/examples pulumi-examplesgit -C pulumi-examples sparse-checkout set kubernetes-ts-multicloudcd pulumi-examples/kubernetes-ts-multicloudThis example creates managed Kubernetes clusters using AKS, EKS, and GKE, and deploys the application on each cluster.
Prerequisites#
- Install Pulumi
- Install Node.js
- (Optional) Configure AWS credentials
- (Optional) Configure Azure credentials
- (Optional) Configure GCP credentials
- (Optional) Configure local access to a Kubernetes cluster
Deploying the example#
-
Create a new stack:
Terminal window pulumi stack init dev -
Set the required configuration variables for this program:
Terminal window pulumi config set aws:region us-west-2 # Any valid AWS region here.pulumi config set azure:location westus2 # Any valid Azure location here.pulumi config set gcp:project [your-gcp-project-here]pulumi config set gcp:zone us-west1-a # Any valid GCP zone here.Note that you can choose different regions here. We recommend using
us-west-2to host your EKS cluster as other regions (notablyus-east-1) may have capacity issues that prevent EKS clusters from creating. -
(Optional) Disable any clusters you do not want to deploy by commenting out the corresponding lines in the
index.tsfile. All clusters are enabled by default. -
Install dependencies:
Terminal window npm install -
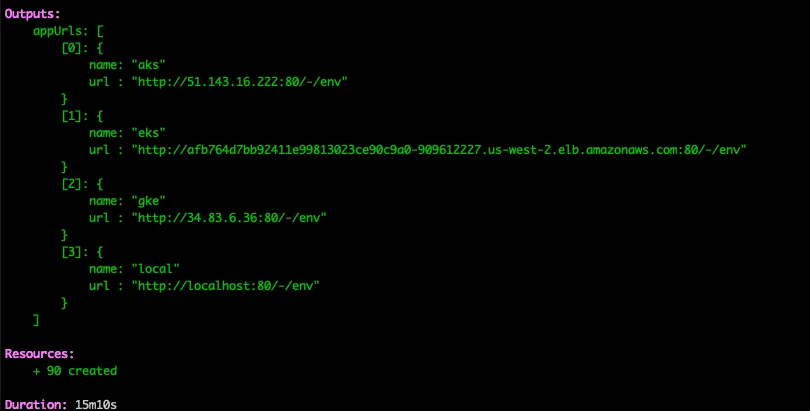
Deploy the stack, which will create the selected managed Kubernetes clusters, and deploy an application to each of them:
Terminal window pulumi upHere’s what it should look like once it completes:
-
You can connect to the example app (kuard) on each cluster using the exported URLs.
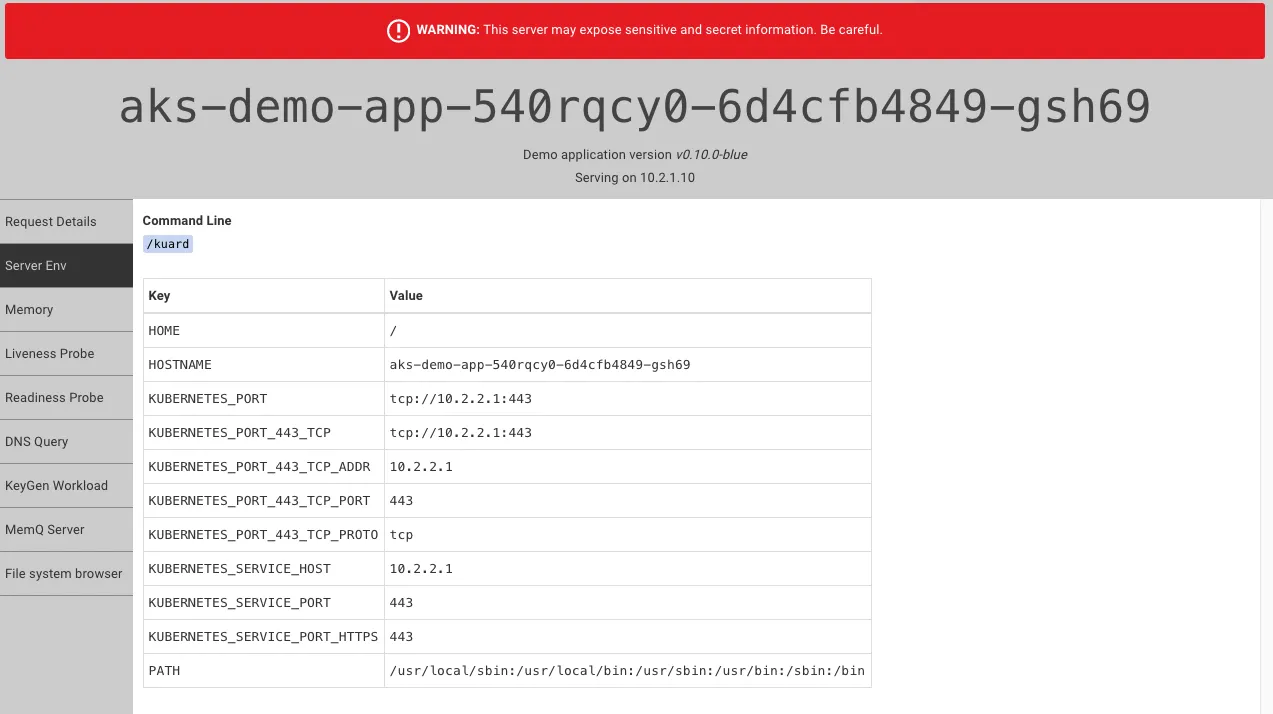
Important: This application is exposed publicly over HTTP, and can be used to view sensitive details about the node. Do not run this application on production clusters!
Cleaning up#
Once you’ve finished experimenting, tear down your stack’s resources by destroying and removing it:
pulumi destroypulumi stack rmNote: The static IP workaround required for the AKS Service can cause a destroy failure if the IP has not
finished detaching from the LoadBalancer. If you encounter this error, simply rerun pulumi destroy,
and it should succeed.