Minecraft server using an Azure Virtual Machine
Basic example of an Azure web server accessible over HTTP
This example lives in the pulumi/examples repository. Check out just this directory to use it:
git clone --filter=blob:none --sparse https://github.com/pulumi/examples pulumi-examplesgit -C pulumi-examples sparse-checkout set azure-py-minecraft-servercd pulumi-examples/azure-py-minecraft-serverThis example deploys an Azure Virtual Machine and provisions a Minecraft server.
Prerequisites#
Deploying the example#
-
Create a new stack:
Terminal window pulumi stack init dev -
Install dependencies:
Terminal window python3 -m venv venvsource venv/bin/activatepip install -r requirements.txt -
Generate an OpenSSH keypair for use with your server:
Terminal window ssh-keygen -t rsa -f rsa -b 4096 -m PEMThis will output two files,
rsaandrsa.pub, in the current directory. Be sure not to commit these files!Make the public and private keys available to the virtual machine. The private key is used for subsequent SCP and SSH steps that will configure your server after it is stood up. Notice that we’ve used
--secretforprivateKey. This ensures the private key is stored as an encrypted Pulumi secret.Terminal window cat rsa.pub | pulumi config set publicKey --cat rsa | pulumi config set privateKey --secret -- -
Set the required configuration for this example. This example requires you to supply a username, password, and location for the virtual machine that we are going to create. Check the Azure virtual machine password requirements before creating a password. Note that
--secretensures your password is encrypted safely.Terminal window pulumi config set admin_password --secret <admin password>pulumi config set admin_username <admin username>pulumi config set azure-native:location westus # any valid Azure region will do -
Deploy the stack:
Terminal window pulumi upType Name Status+ pulumi:pulumi:Stack azure-py-webserver-dev created+ ├─ azure-native:resources:ResourceGroup server-rg created+ ├─ azure-native:network:VirtualNetwork server-network created+ ├─ azure-native:network:PublicIPAddress server-ip created+ ├─ azure-native:network:NetworkInterface server-nic created+ ├─ azure-native:compute:VirtualMachine server-vm created+ ├─ pulumi-python:dynamic:Resource config created+ └─ pulumi-python:dynamic:Resource install createdOutputs:Minecraft Server IP Address: "40.112.182.143"Resources:+ 8 createdDuration: 7m6s -
Get the IP address of the newly-created instance from the stack’s outputs:
Terminal window pulumi stack output public_ip -
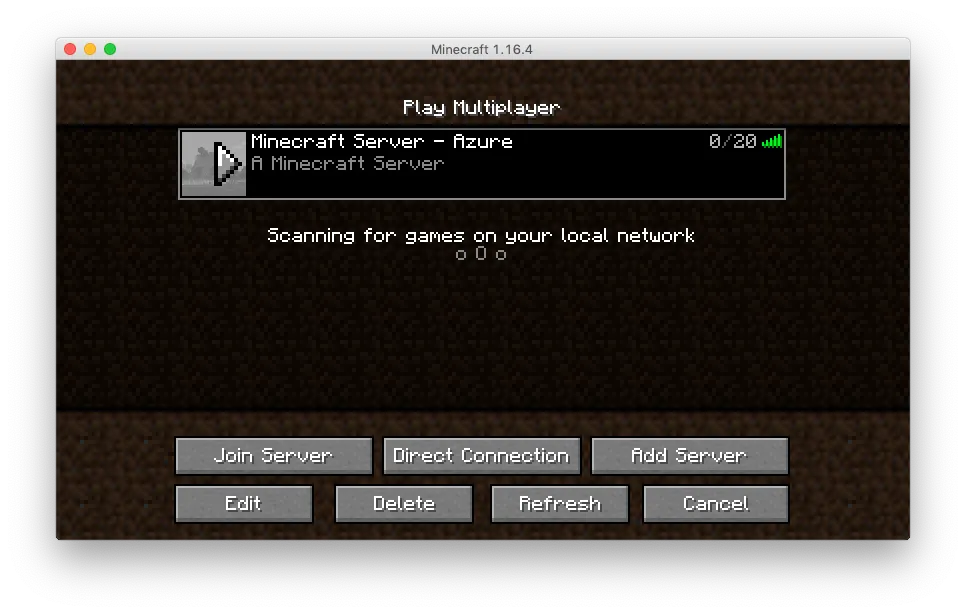
Check to see that your server is running by adding the server to the Minecraft client.
Cleaning up#
Once you are finished, you can destroy your stack and remove it to avoid incurring any additional cost:
pulumi destroypulumi stack rm