Serverless REST API with API Gateway and Lambda
10 minServerless applications let you serve content and run code without managing any servers. On AWS, API Gateway and Lambda make it possible to expose both static files and dynamic HTTP routes behind a single public endpoint.
In this tutorial, you will write a Pulumi program that creates a serverless app serving static content alongside a dynamic route backed by AWS Lambda. You will accomplish this using a few lines of JavaScript, a small amount of configuration, and whatever static content you wish to serve.
- How to create a public HTTP endpoint with AWS API Gateway
- How to serve static content from a local folder
- How to serve a dynamic REST route backed by AWS Lambda
- How to preview, deploy, and manage your stack with the Pulumi CLI
- A Pulumi Cloud account and an access token
- The Pulumi CLI
- An Amazon Web Services account
- The AWS CLI
- Node.js installed
In this tutorial, you’ll write a Pulumi program that creates a serverless app serving static content, in addition to dynamic routes in AWS Lambda. You’ll accomplish this using 5 lines of JavaScript, a few lines of configuration, and whatever static content you wish to serve. For this tutorial, you’ll go with a simple HTML page and a favicon. After seeing this in action, you can build on these basic concepts to explore additional containers, serverless, and infrastructure tutorials.
Deploy the App#
Step 1: Create a new project from a template#
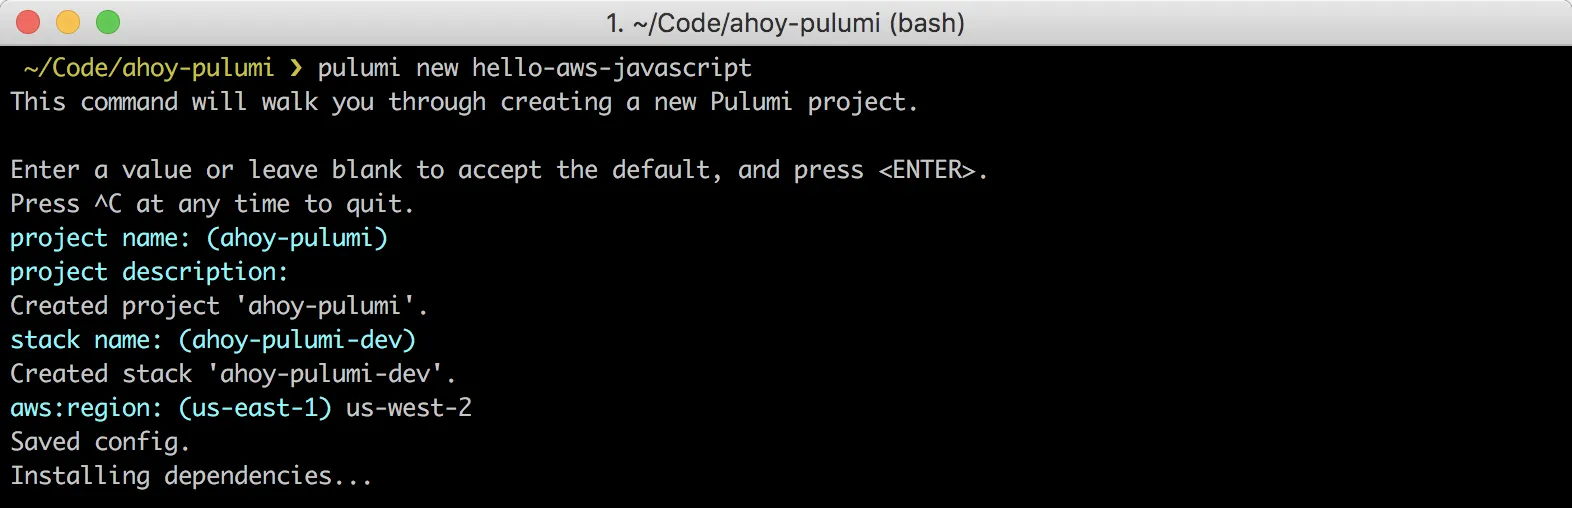
Create a project directory, ahoy-pulumi, and change into it. Run pulumi new hello-aws-javascript --name myproject to create a new project using the AWS template for JavaScript. Replace myproject with your desired project name.
mkdir ahoy-pulumi && cd ahoy-pulumipulumi new hello-aws-javascript --name myprojectFollow the project initialization prompts. You can accept the defaults, or change the values according to your setup. For instance, you can change the AWS region to us-west-2.
Step 2: Review your project files#
After some dependency installations from npm, you’ll see the few files that have been generated from the initialization process.
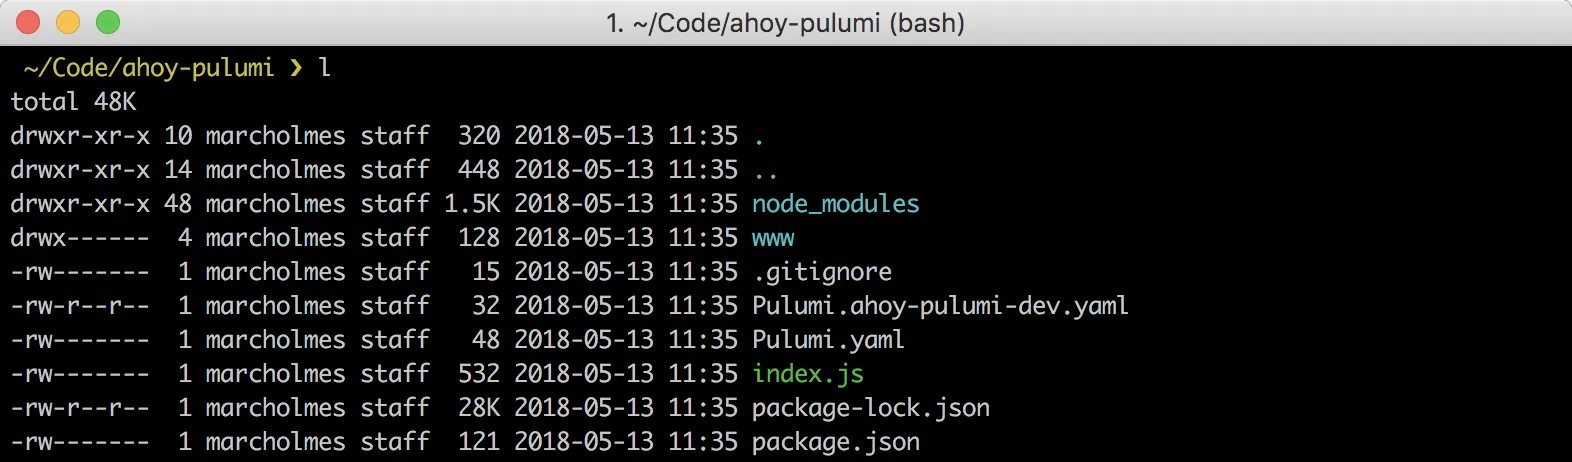
Let’s review those files:
Pulumi.yamldefines the project.Pulumi.ahoy-pulumi-dev.yamlis the configuration file for the stack you initialized in the previous step.wwwcontains the sample static content for this tutorial.index.jsis the key file for defining your stack resources (which we will look at in the next step).
Step 3: Review your stack resources#
Normally, you would write some code to define the resources for your cloud stack, but the quickstart took care of that for you. Open up index.js using your preferred text editor.
const pulumi = require("@pulumi/pulumi");const aws = require("@pulumi/aws");const awsx = require("@pulumi/awsx");
// Create a public HTTP endpoint (using AWS APIGateway)const endpoint = new awsx.apigateway.API("hello", {    routes: [        // Serve static files from the `www` folder (using AWS S3)        {            path: "/",            localPath: "www",        },
        // Serve a simple REST API on `GET /name` (using AWS Lambda)        {            path: "/source",            method: "GET",            eventHandler: (req, ctx, cb) => {                cb(undefined, {                    statusCode: 200,                    body: Buffer.from(JSON.stringify({ name: "AWS" }), "utf8").toString("base64"),                    isBase64Encoded: true,                    headers: { "content-type": "application/json" },                })            }        }    ]});
// Export the public URL for the HTTP serviceexports.url = endpoint.url;
This example uses the @pulumi/awsx package in JavaScript and TypeScript to create a public HTTP endpoint, and define the static and event handler routes. See Module apigateway to learn more about Pulumi’s API Gateway module and components.
Step 4: Preview and deploy your resources#
To preview your Pulumi program, run pulumi up. The command shows a preview of the resources that will be created and prompts you to proceed with the deployment.
pulumi up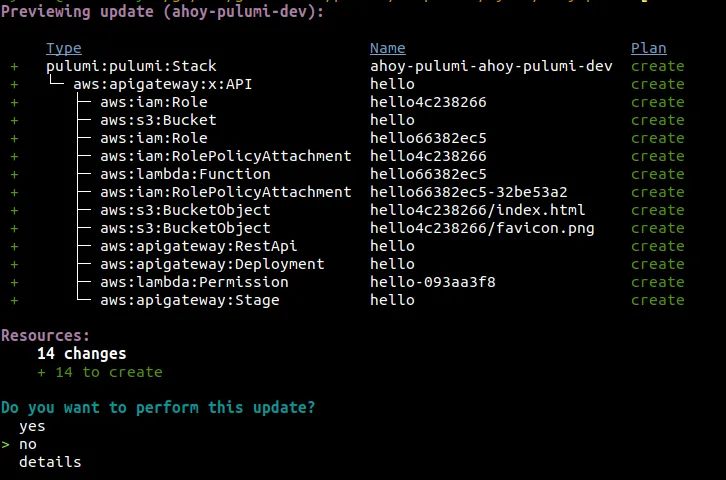
Choose yes to create the resources in AWS. This may take a minute or two.
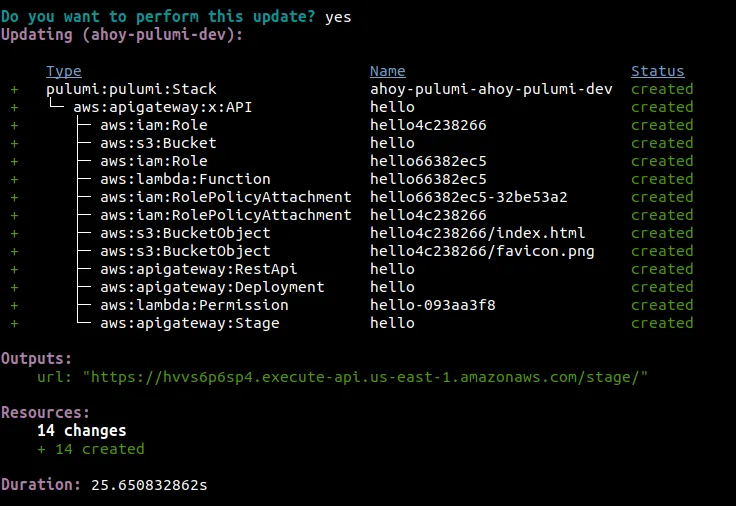
Since there was a stack export (via exports.url) in the code, pulumi up prints this in the output. You can easily curl this URL via pulumi stack output:
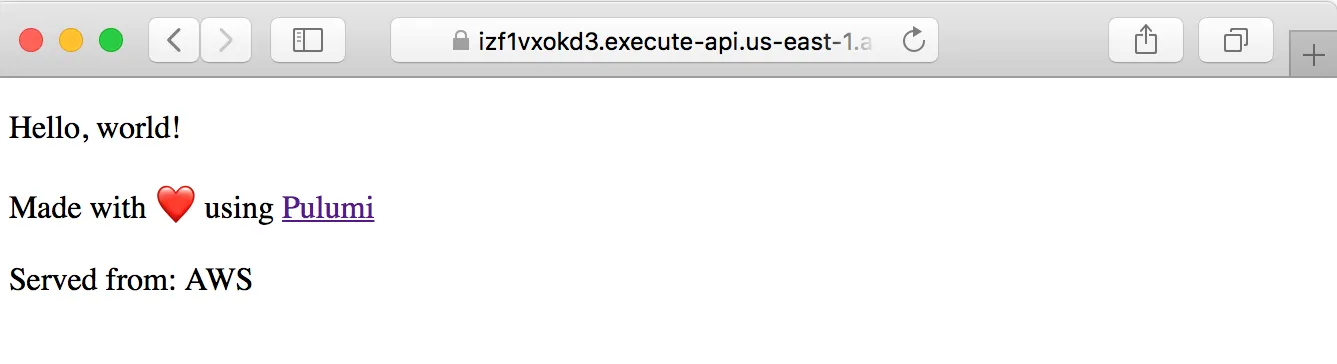
curl $(pulumi stack output url)For a more interesting view that shows the result of calling a Lambda function, open the page in a browser:
Step 5: Manage the stack#
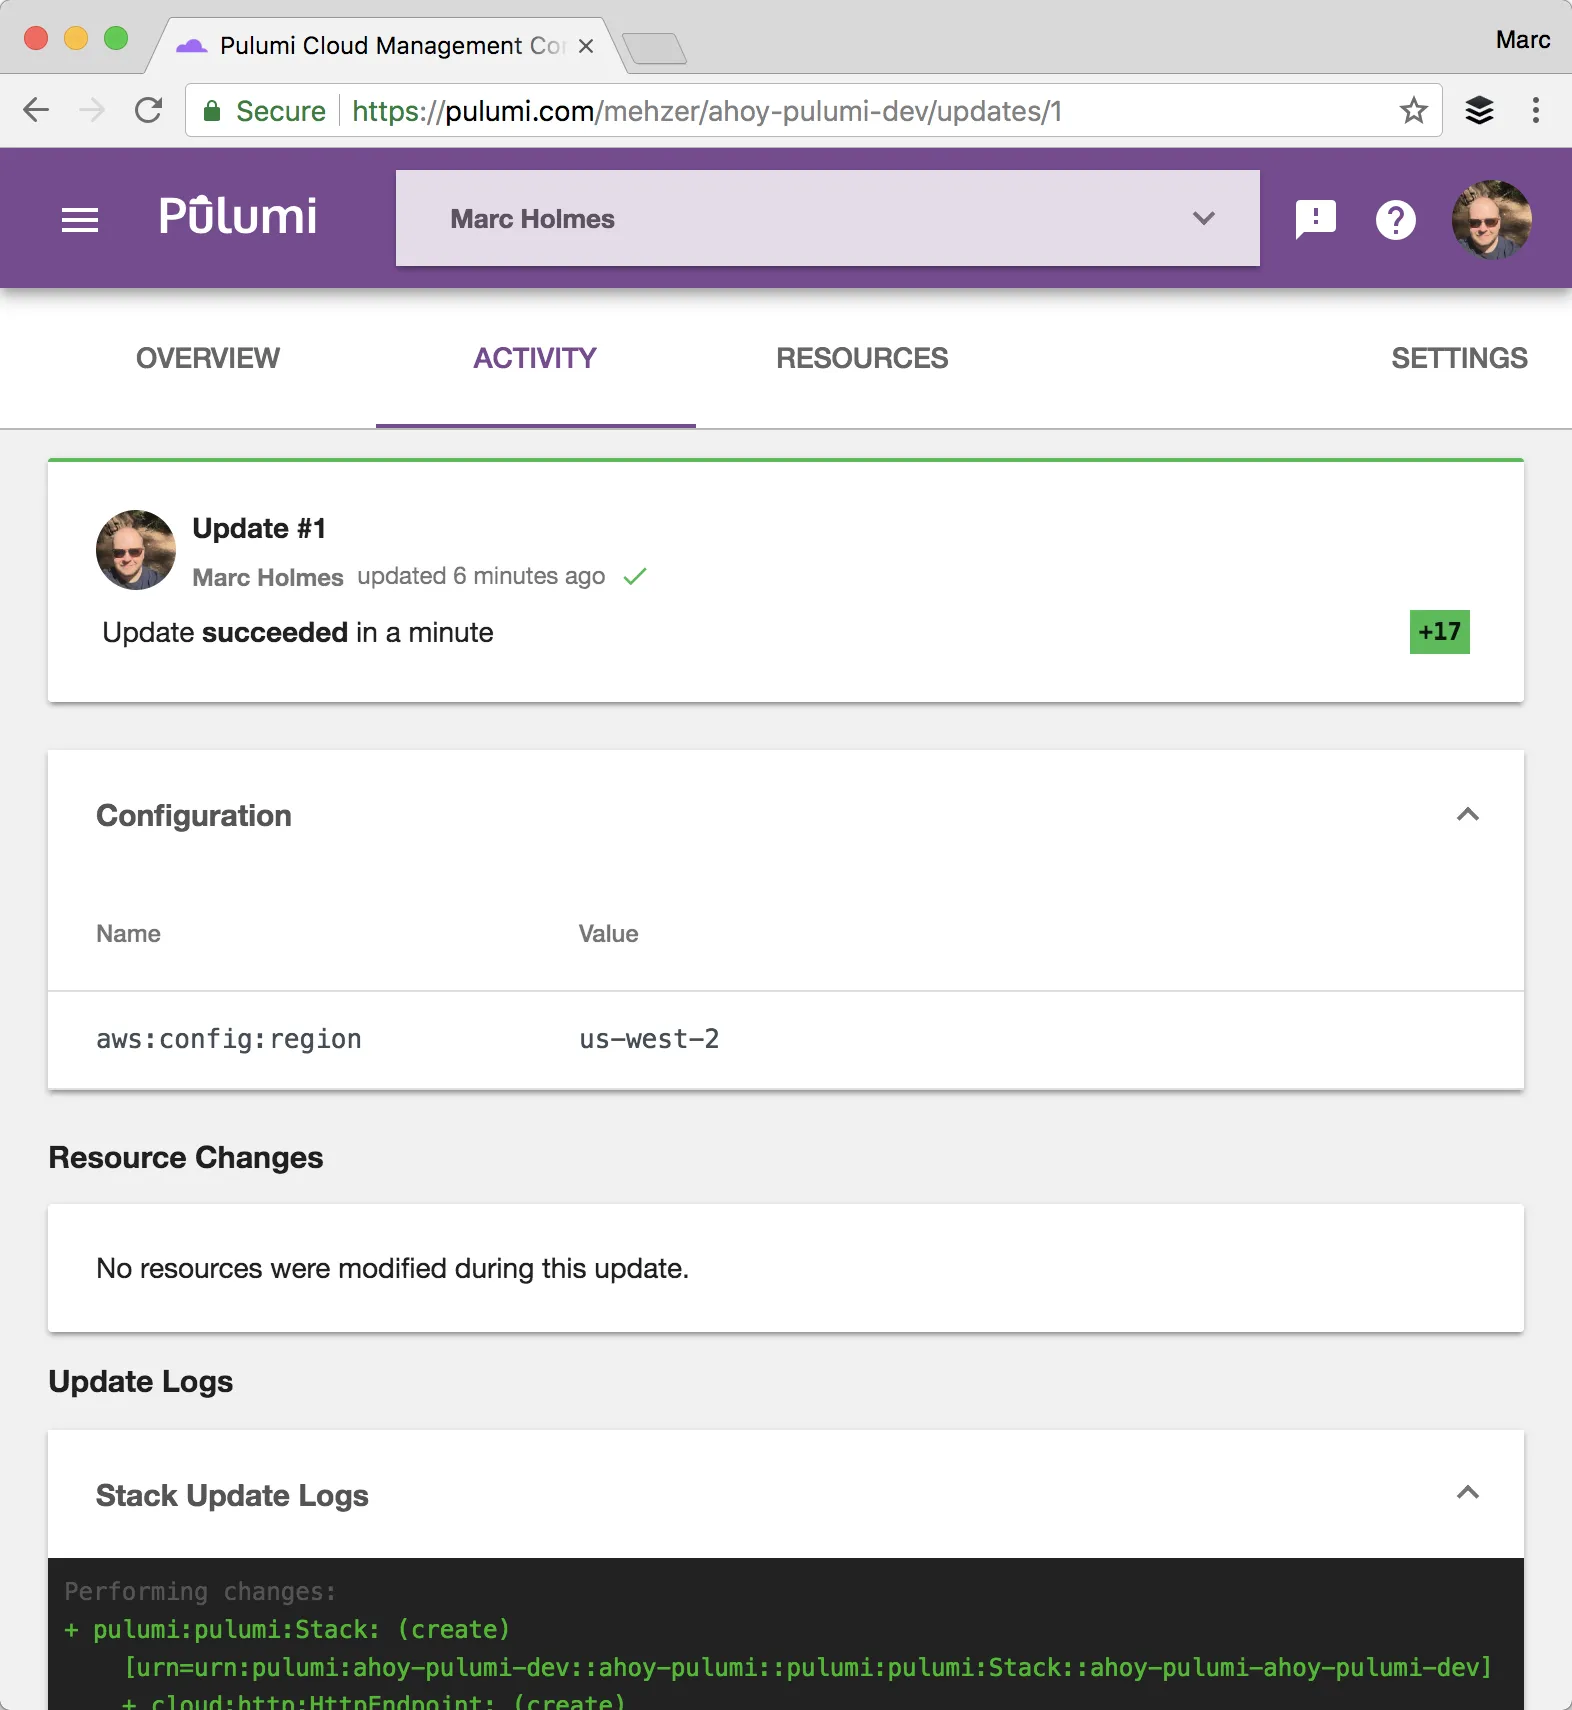
The output also contained a permalink to the Pulumi Cloud. Select that link to review the stack in the web UI, examine logs and resource usage, and learn how you can invite friends and coworkers to collaborate on stacks.
Clean Up#
Before moving on, tear down the resources that are part of your stack to avoid incurring any charges.
- Run
pulumi destroyto tear down all resources. You’ll be prompted to make sure you really want to delete these resources. A destroy operation may take some time, since Pulumi waits for the resources to finish shutting down before it considers the destroy operation to be complete. - To delete the stack itself, run
pulumi stack rm. Note that this command deletes all deployment history from the Pulumi Service.
Summary#
In this tutorial, we showed you the following:
- How Pulumi makes the definition of cloud resources and stacks a highly productive, code-driven activity.
- How the Pulumi CLI can initialize, configure, deploy, and manage cloud stacks.
- How the Pulumi dashboard can log, monitor, and manage information about a cloud stack.
Next Steps#
Related
API Gateway to EventBridge with Pulumi
