Get started with Pulumi and AWS
Deploy to AWS
Now run pulumi up to start deploying your new S3 bucket:
$ pulumi up
> pulumi up
This command first shows you a preview of the changes that will be made:
Previewing update (dev):

     Type                 Name            Plan
 +   pulumi:pulumi:Stack  quickstart-dev  create
 +   └─ aws:s3:Bucket     my-bucket       create

Resources:
    + 2 to create

Do you want to perform this update?
> yes
  no
  details
No changes have been made yet. You may decline to proceed by selecting no or choose details to
see more information about the proposed update like your bucket’s properties.
Performing the update
To proceed and deploy your new S3 bucket, select yes. This begins an update:
Do you want to perform this update? yes
Updating (dev):

     Type                 Name            Status
 +   pulumi:pulumi:Stack  quickstart-dev  created (4s)
 +   └─ aws:s3:Bucket     my-bucket       created (2s)

Outputs:
    bucketName: "my-bucket-58ce361"

Resources:
    + 2 created

Duration: 5s
Updates can take some time since they wait for the cloud resources to finish being created. S3 buckets are quick, however, so the update will finish in just a few seconds.
-58ce361) are the result of auto-naming,
a feature that lets you use the same resource names across multiple stacks without naming collisions. You can
disable or fine-tune this. To learn how, read more about
auto-naming.Using stack outputs
The bucket ID can be accessed with the pulumi stack output command. You can use this to easily list
the contents of your new bucket – which of course will be empty:
$ aws s3 ls s3://$(pulumi stack output bucketName)
$ aws s3 ls s3://$(pulumi stack output bucket_name)
$ aws s3 ls ("s3://" + (pulumi stack output bucketName))
$ aws s3 ls ("s3://" + (pulumi stack output bucket_name))
View your update on Pulumi Cloud
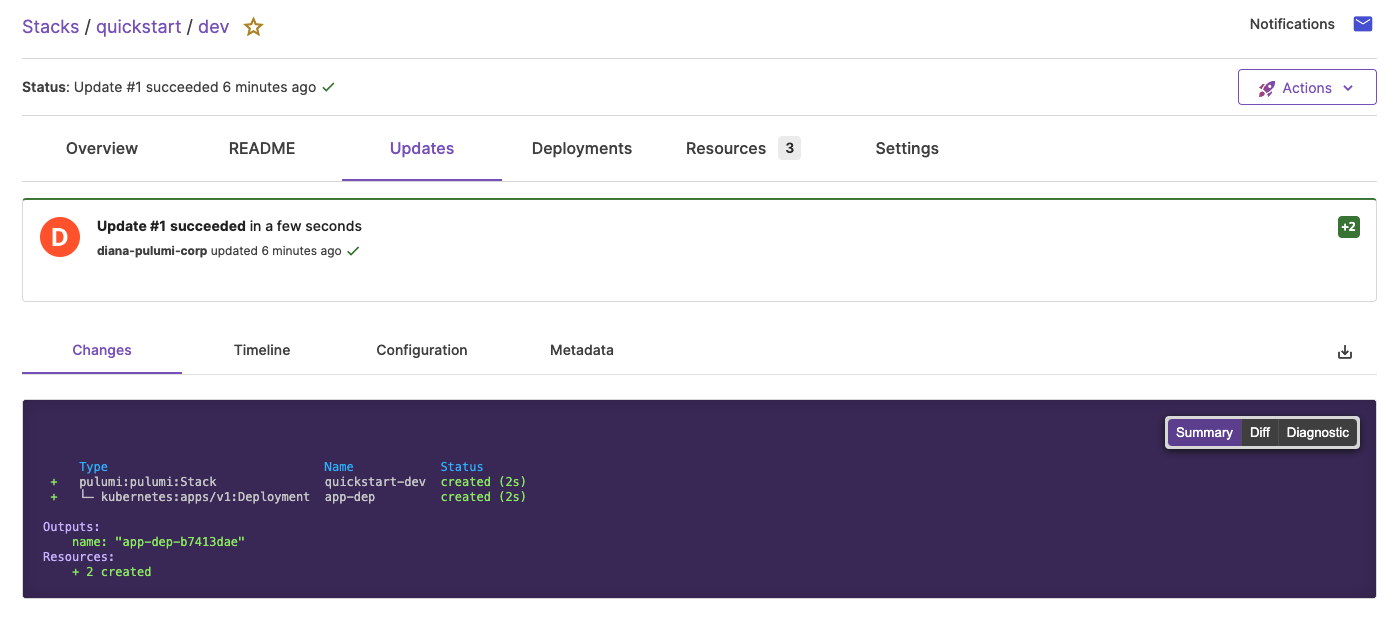
If you are logged into Pulumi Cloud, you’ll see “View Live” hyperlinks in the CLI output during your update. These go to a page with detailed information about your stack including resources, configuration, a full history of updates, and more. Click on it to check it out:

Now that the S3 bucket has been provisioned, you’ll update it to host a static website.
Thank you for your feedback!
If you have a question about how to use Pulumi, reach out in Community Slack.
Open an issue on GitHub to report a problem or suggest an improvement.
