Pulumi & Google Cloud: Deploy stack
Let’s go ahead and deploy your stack:
$ pulumi up
This command evaluates your program and determines the resource updates to make. First, a preview is shown that outlines the changes that will be made when you run the update:
Previewing update (dev)

     Type                   Name            Plan
 +   pulumi:pulumi:Stack    quickstart-dev  create
 +   └─ gcp:storage:Bucket  my-bucket       create

Outputs:
    bucketName: output<string>

Resources:
    + 2 to create

Do you want to perform this update?  [Use arrows to move, enter to select, type to filter]
> yes
  no
  details
Once the preview has finished, you are given three options to choose from. Choosing details will show you a rich diff of the changes to be made. Choosing yes will create your new storage bucket in Google Cloud. Choosing no will return you to the user prompt without performing the update operation.
Updating (dev)

     Type                   Name            Status
 +   pulumi:pulumi:Stack    quickstart-dev  created (3s)
 +   └─ gcp:storage:Bucket  my-bucket       created (1s)

Outputs:
    bucketName: "gs://my-bucket-daa12be"

Resources:
    + 2 created

Duration: 4s
Remember the output you defined in the previous step? That stack output can be seen in the Outputs: section of your update. You can access your outputs from the CLI by running the pulumi stack output [property-name] command. For example you can print the name of your bucket with the following command:
$ pulumi stack output bucketName
$ pulumi stack output bucketName
$ pulumi stack output bucket_name
$ pulumi stack output bucketName
$ pulumi stack output bucketName
$ pulumi stack output bucketName
$ pulumi stack output bucketName
Running that command will print out the name of your bucket.
The extra characters you see tacked onto the bucket name (-daa12be) are the result of auto-naming,
a feature that lets you use the same resource names across multiple stacks without naming collisions. You can learn more about
auto-naming in the Concepts docs.
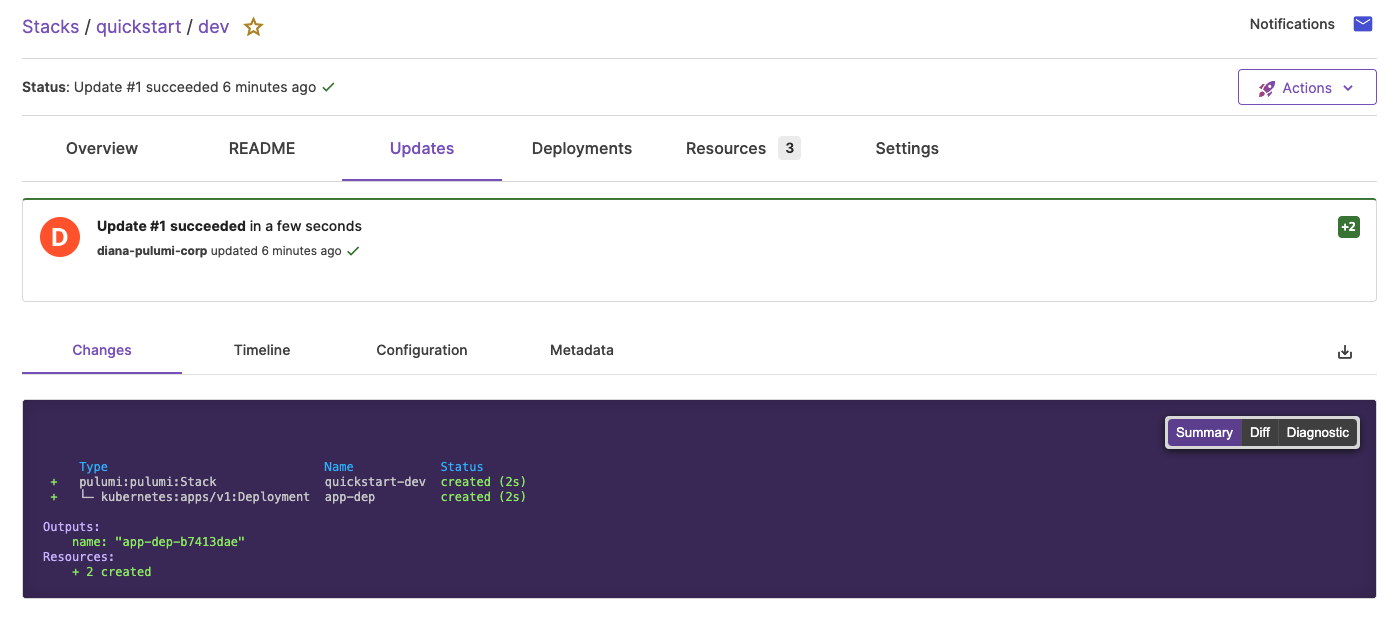
If you are using the Pulumi Cloud backend, you can follow the "View in Browser" link displayed in the CLI output. This will open the update in Pulumi Cloud, where you can view the output and explore detailed information about your stack such as its activity, resources, and configuration.

Now that your bucket has been provisioned, let’s modify the bucket to host a static website.
Thank you for your feedback!
If you have a question about how to use Pulumi, reach out in Community Slack.
Open an issue on GitHub to report a problem or suggest an improvement.
