Pulumi & Kubernetes: Deploy stack
Deploy the stack:
$ pulumi up
This command instructs Pulumi to determine the resources needed to create the stack. A preview is shown of the changes that will be made:
Previewing update (dev)

     Type                              Name            Plan
 +   pulumi:pulumi:Stack               quickstart-dev  create
 +   └─ kubernetes:apps/v1:Deployment  nginx           create

Outputs:
    name: "nginx-516e16fd"

Resources:
    + 2 to create

Do you want to perform this update?  [Use arrows to move, type to filter]
> yes
  no
  details
Select yes using the arrows and hit enter to create the resources in Kubernetes.
Do you want to perform this update? yes
Updating (dev):
     Type                              Name            Status
 +   pulumi:pulumi:Stack               quickstart-dev  created (3s)
 +   └─ kubernetes:apps/v1:Deployment  nginx           created (2s)

Outputs:
    name: "nginx-bec13562"

Resources:
    + 2 created

Duration: 4s
The name of the deployment that we exported is shown as a stack output.
The extra characters you see tacked onto the deployment name (-bec13562) are the result of auto-naming,
a feature that lets you use the same resource names across multiple stacks without naming collisions. You can learn more about
auto-naming in the Concepts docs.
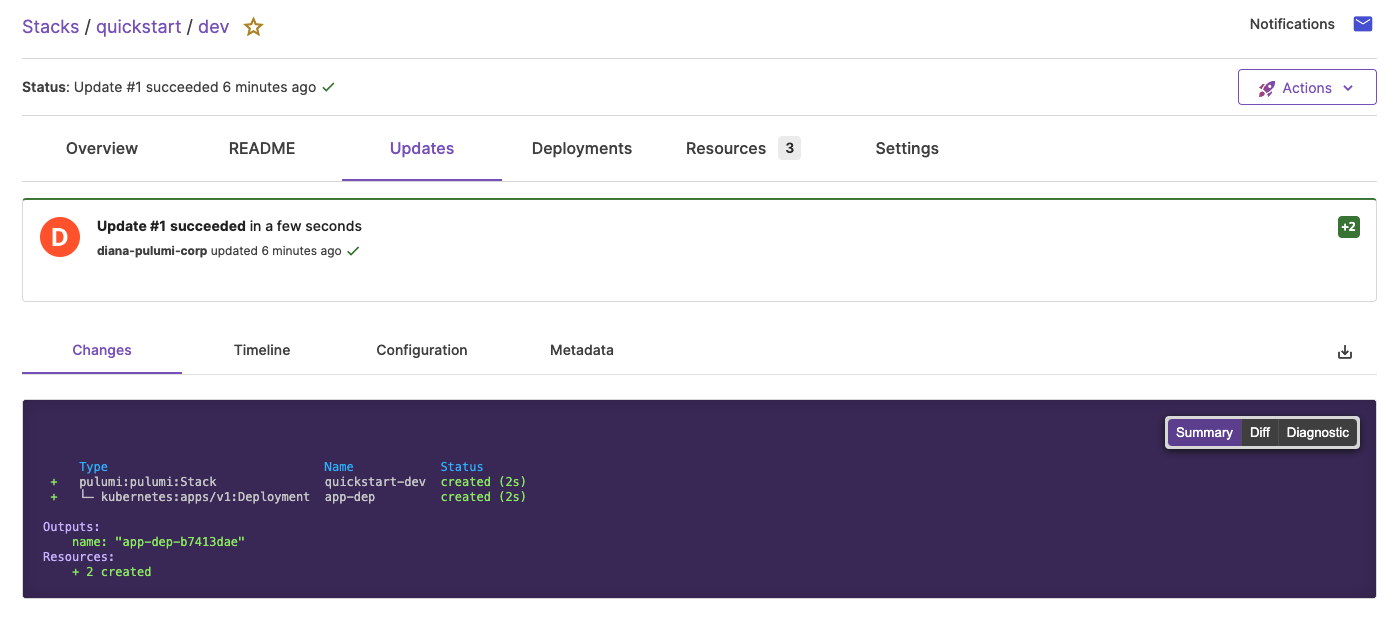
If you are using the Pulumi Cloud backend, you can follow the "View in Browser" link displayed in the CLI output. This will open the update in Pulumi Cloud, where you can view the output and explore detailed information about your stack such as its activity, resources, and configuration.

Next, we’ll make some modifications to the program.
Thank you for your feedback!
If you have a question about how to use Pulumi, reach out in Community Slack.
Open an issue on GitHub to report a problem or suggest an improvement.
