Adopting Existing Cloud Resources into Pulumi

Most cloud infrastructure projects involve working with existing cloud resources — either building on top of existing resources or adopting existing resources under management with a new and more robust infrastructure provisioning solution.
Whether you are adopting resources that were deployed manually using your cloud provider’s console or CLI — or migrating existing infrastructure from tools like Terraform or CloudFormation — Pulumi makes it easy to adopt and manage your existing resources.
When working with existing resources, there are typically two scenarios:
- You need to reference existing resources to use as inputs to new resources in Pulumi
- You need to adopt existing resources under management so they can be updated/managed in Pulumi
We’ll review referencing existing resources, and then dive deeper into how you can adopt existing resources with Pulumi.
Referencing Existing Resources
For referencing existing resources, Pulumi offers several tools.
- The
.getmethods available on every resource let you get all the details for a resource from the cloud provider based just on itsid. - The
StackReferenceresource lets you reference outputs of another stack for use as inputs to a stack, which is very useful for organizing projects and stacks. terraform.state.RemoteStateReference(),aws.cloudformation.getStack()andazure.core.SubscriptionTemplateDeployment.get()let you reference outputs from existing Terraform, CloudFormation and ARM deployments respectively.
Together, these make it easy to reference existing infrastructure regardless of how it was provisioned.
Adopting Existing Resources
For adopting existing resources, Pulumi offers the import resource option to request that a resource defined in your Pulumi program adopt an existing resource in the cloud provider instead of creating a new one. In keeping with its focus on infrastructure as code, Pulumi lets you specify this import behavior inside the Pulumi code for your infrastructure deployment, instead of outside of it in some manual workflow. In its simplest form, it looks like this:
const myVpc = new aws.ec2.Vpc("my-vpc", {
    cidrBlock: "10.11.0.0/16",
}, { import: "vpc-02cd0cd2d807f340c"});
When Pulumi first sees a resource (in this case my-vpc), if it has an import option set, it will adopt the existing resource specified by that import ID from the cloud provider under management instead of creating a new resource.
We can see this when we deploy our Pulumi program with pulumi up:
$ pulumi up
Previewing update (dev):

     Type                 Name               Plan
     pulumi:pulumi:Stack  importtestaws-dev
 =   └─ aws:ec2:Vpc       my-vpc             import

Resources:
    = 1 to import
    1 unchanged
Because the import is provided in code, it can be configured in several different ways. You can look up import ids from Pulumi config instead of hard-coding them into programs, construct ids from predictable names based on program parameters, or even conditionally add the import: <id> property depending on whether one wants to deploy a stack in “adoption” or “creation” mode.
Import can be used for a wide variety of adoption scenarios, from importing a single resource to migrating an entire stack from an existing tool like Terraform. You can even automate an entire migration process across dozens of instances of infrastructure deployment. For small numbers of resources, you can just paste in individual resource IDs. For larger conversions, you can create a mapping of cloud resource ids (in JSON, CSV, or any other format) and load that into your Pulumi program with something like import: idMapping[name]. If you are importing or migrating dozens of stacks, you can even select between which of these mappings to use via a Pulumi config setting.
Walkthrough of Adopting Existing Infrastructure to Pulumi
To see one of these scenarios in action end-to-end, let’s walk through the process of deploying some “existing” infrastructure outside of Pulumi, and then adopting it under management of a Pulumi program. You can also check out the video below which walks through the same scenario.
We’ll use Terraform to provision our “existing” infrastructure. These resources could have been provisioned manually in the console, or using platform-native infrastructure-as-code solutions like CloudFormation, ARM or Kubernetes YAML.
We’ll also use TypeScript, though of course, the process is similar regardless of the language you choose.
1. Deploy “existing” infrastructure
For our “existing” infrastructure, we’ll use a small Azure deployment of a Virtual Machine and corresponding Resource Group and Networking resources. We’ll deploy this example using terraform. Save the code in that example to main.tf and run terraform init and then terraform apply to deploy it.
2. Create a Pulumi program
Next, we’ll create a Pulumi program to describe the same infrastructure that exists in Azure. We could write this by hand, but since we used Terraform to define the original infrastructure, we also have the option to use tf2pulumi to automatically convert our .tf files to Pulumi.
tf2pulumi has been replaced with pulumi convert --from terraform. Converting Full Terraform Programs to Pulumi blog has more details.$ pulumi new azure-typescript --force
$ tf2pulumi
We now have a Pulumi program in index.ts that describes the same infrastructure:
import * as pulumi from "@pulumi/pulumi";
import * as azure from "@pulumi/azure";

const config = new pulumi.Config();
const prefix = config.get("prefix") || "tfvmex";

const mainResourceGroup = new azure.core.ResourceGroup("main", {
    location: "West US 2",
    name: `${prefix}-resources`,
});
const mainVirtualNetwork = new azure.network.VirtualNetwork("main", {
    addressSpaces: ["10.0.0.0/16"],
    location: mainResourceGroup.location,
    name: `${prefix}-network`,
    resourceGroupName: mainResourceGroup.name,
});

...
If we try to run a pulumi up now to deploy this though, we see that as we expect, we will try to deploy a new copy of the infrastructure:
$ pulumi up
Previewing update (dev2):

     Type                               Name              Plan
 +   pulumi:pulumi:Stack                importazure-dev2  create
 +   ├─ azure:core:ResourceGroup        main              create
 +   ├─ azure:network:VirtualNetwork    main              create
 +   ├─ azure:network:Subnet            internal          create
 +   ├─ azure:network:NetworkInterface  main              create
 +   └─ azure:compute:VirtualMachine    main              create

Resources:
    + 6 to create
Instead of creating new resources though, we want to adopt the existing ones.
3.Add import IDs
As we saw earlier, to import existing resources, we simply add import: <id> to the resource options of a resource defined in Pulumi. That resource will then be imported instead of created.
We can try this for one resource first. We can look in our terraform.tfstate file or in the Azure Portal and see that the id of the Resource Group is /subscriptions/0282681f-7a9e-424b-80b2-96babd57a8a1/resourceGroups/tfvmex-resources. So let’s use that:
const mainResourceGroup = new azure.core.ResourceGroup("main", {
    location: "West US 2",
    name: `${prefix}-resources`,
}, { import: "/subscriptions/0282681f-7a9e-424b-80b2-96babd57a8a1/resourceGroups/tfvmex-resources" });
4. Adopt resources
Now our preview shows that it will import the ResourceGroup instead:
$ pulumi up
Previewing update (dev2):

     Type                         Name              Plan
 +   pulumi:pulumi:Stack          importazure-dev2  create
 =   └─ azure:core:ResourceGroup  main              import

Resources:
    + 1 to create
    = 1 to import
    2 changes
We can complete this process, adding import: <id> to all resources, and then import them all to Pulumi.
Updating (dev2):

     Type                               Name              Status
 +   pulumi:pulumi:Stack                importazure-dev2  created
 =   ├─ azure:core:ResourceGroup        main              imported
 =   ├─ azure:network:VirtualNetwork    main              imported
 =   ├─ azure:network:Subnet            internal          imported
 =   ├─ azure:network:NetworkInterface  main              imported
 =   └─ azure:compute:VirtualMachine    main              imported

Resources:
    + 1 created
    = 5 imported
    6 changes

Duration: 8s
As noted earlier, if we were doing this at larger scale, instead of putting resource IDs inline in the code, we could load the IDs from a file or from Pulumi config. These IDs could be automatically extracted from our .tfstate file or from queries against our cloud provider.
5. Managing the resources with Pulumi
Once all of the resources are adopted into Pulumi, we can manage them by making incremental changes in Pulumi, and can discontinue using the existing .tf files to manage this set of infrastructure. For example, if we want to add a new tag to our Virtual Machine, we can use the code below. We can also now remove the import property if we want, or else leave it intact so long as the id of the resource remains the same. (If in the future we need to make a change that replaces one of these imported resources, Pulumi will require that the id property is removed, as it will no longer be correct.)
const mainVirtualMachine = new azure.compute.VirtualMachine("main", {
    location: mainResourceGroup.location,
    name: `${prefix}-vm`,
    networkInterfaceIds: [mainNetworkInterface.id],
    osProfile: {
        // Note: This comes directly from the original Terraform example, but
        // you would typically replace this with secret config in Pulumi, which
        // you can do after importing these resources into Pulumi.
        adminPassword: "Password1234!",
        adminUsername: "testadmin",
        computerName: "hostname",
    },
    osProfileLinuxConfig: {
        disablePasswordAuthentication: false,
    },
    resourceGroupName: mainResourceGroup.name,
    storageImageReference: {
        offer: "UbuntuServer",
        publisher: "Canonical",
        sku: "16.04-LTS",
        version: "latest",
    },
    storageOsDisk: {
        caching: "ReadWrite",
        createOption: "FromImage",
        managedDiskType: "Standard_LRS",
        name: "myosdisk1",
    },
    tags: {
        environment: "staging",
+       managedBy: "Pulumi",
    },
    vmSize: "Standard_DS1_v2",
});
Deploying this, Pulumi shows we will update the existing resource to add the new tag:
       ~ tags: {
          + managedBy: "Pulumi"
        }
Since the resources are now being managed by Pulumi, we can use the Pulumi Service to see them:
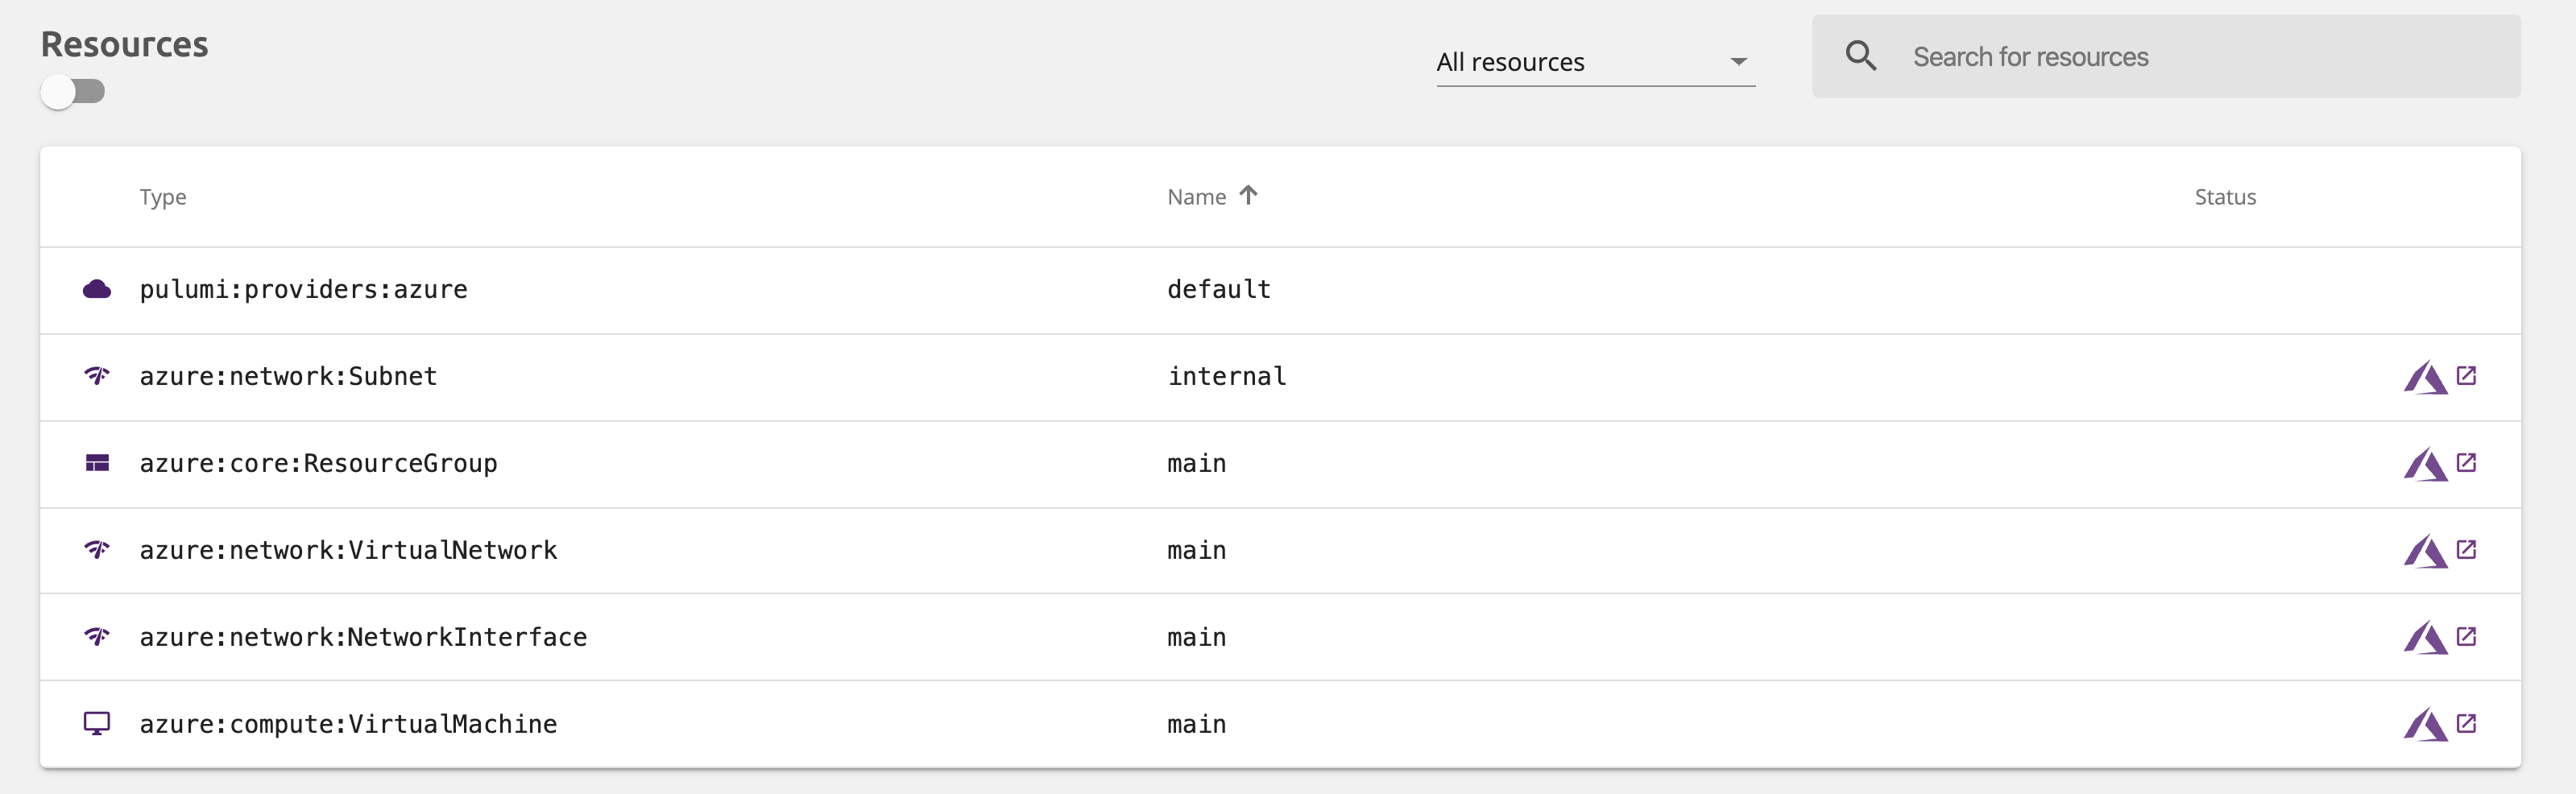
And then navigate to the Virtual Machine in the Azure Portal and see the newly added managedBy: Pulumi tag.

The result is that we have migrated our existing infrastructure into Pulumi and can now use all the rich features of Pulumi to manage it going forward!
Conclusion
With Pulumi, you can easily work with existing cloud infrastructure, either referencing the existing infrastructure as inputs to new cloud infrastructure defined in Pulumi, or adopting existing infrastructure under management with Pulumi.
Get started with Pulumi today!