Importing Environments
Overview
There may be scenarios where the value you need to retrieve is stored in a different environment file. For example, imagine you are building a system that integrates with a third-party service such as:
- a payment provider
- weather data provider
- a content-management system
In the development environment, you might be integrating with the sandbox or development endpoint of the third-party service, while in the testing environment, you might be integrating with the production endpoint. Both endpoints may share the same base URL.
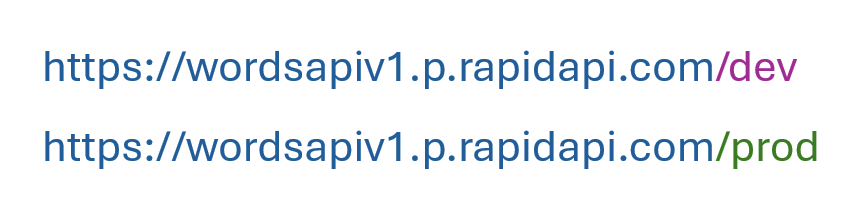
Since this base URL would be the same across environments, it would be more efficient to define it once in one place rather than multiple times across multiple environment files.
With Pulumi ESC, you can import other environments into your environment file and make use of the imported configuration values and secrets. Similar to values, imports is a top-level key you will need to define in the environment file, meaning the syntax to create an import looks like the following:
imports:
  - project-name/environment-name-1
  - project-name/environment-name-2
values:
    ...
    ...
Prerequisites
Before you begin, you should have:
- Created at least one environment in Pulumi ESC
- Basic familiarity with defining values in environments
What you’ll learn
In this guide, you will:
- Create a shared environment with common configuration
- Import that environment into another environment
- Verify that imported values are accessible
Import an environment
To demonstrate how this works, you will need to create a second environment. For the purposes of this guide, we will name this new environment my-project/app-global-config. In this environment, replace the placeholder content with the following configuration:
values:
  ENDPOINT_URL: "https://wordsapiv1.p.rapidapi.com/"
Then, open your first environment (e.g. my-project/dev-environment) via Pulumi Cloud or the ESC CLI and add the following configuration to the top of your file:
imports:
  - my-project/app-global-config
Your updated environment file should look similar to the following:
# Example contents of my-project/dev-environment
imports:
  - my-project/app-global-config
values:
  myEnvironment: "development"
  myPassword:
    fn::secret:
      ciphertext: ZXNjeAA....
After saving your changes, you should now see "ENDPOINT_URL": "https://wordsapiv1.p.rapidapi.com/" in the environment preview pane. This confirms that the value was successfully imported from the my-project/app-global-config environment.
Success! You’ve now imported an environment. The imported ENDPOINT_URL value is accessible in the same way as values defined directly in this environment. You can retrieve it via the console or CLI just like any other value.
Next steps
- Managing secrets - Learn more about storing and retrieving values
- Integrate with Pulumi IaC - Use composed environments in your infrastructure code
- Composition and imports reference - Complete documentation on import behavior and JSON Merge Patch semantics
Thank you for your feedback!
If you have a question about how to use Pulumi, reach out in Community Slack.
Open an issue on GitHub to report a problem or suggest an improvement.